Stretches
-

Unlocking Performance from the Ground Up Pt. 2: Hips
At Training Aspects, we see it all the time. Clients with tight hip flexors, weak glutes, poor hip rotational control, all ailments that lead to further inefficient movement, compensation, and if not taken care of, injury. The hips are a central hub in the kinetic chain, connecting your lower body to your core. When they’re…
-
There Is Such a Thing as Too Much Stretching: Know Your Mobility Needs
Stretching isn’t always the answer when it comes to loosening up. The assumption is that feeling tight means that you need to stretch more but that’s not always the case. Something a lot of people get wrong about mobility is that it’s more than just stretching. It’s about having the right combination of range of…
-
Women’s Boxing Program in Voorhees Township NJ at TA Boxing
Strong, Confident, & Unstoppable – TA Boxing’s Women’s Program At TA Boxing, we believe every woman deserves to feel strong—physically, mentally, and emotionally. Our women’s boxing program is more than just a workout—it’s an empowering experience that builds confidence, sharpens self-defense skills, and helps you develop real-world strength and resilience. To get started, we offer…
-
No More Excuses: Training Needs to Be a Part of Your Daily Life
No More Excuses – Quit Letting Yourself Down Life is busy—work, parental responsibilities, relationships, errands, stress—it all adds up. And when your schedule is packed, training is usually the first thing to get pushed aside. But if you’re constantly putting your health on hold, you’re setting yourself up for bigger problems down the road. Yes,…
-
Benefits of Stretching 10 Minutes a Day for Athletes
Every athlete, at some point, has questioned the importance of stretching or complained about how boring it can be. But what if I told you that just 5–10 minutes of daily stretching could improve your athletic performance? Within a few days, you’ll feel less sore. After a few weeks of consistent stretching, you may notice…
-
Why Wait? Start Your Fitness Journey Today
When it comes to fitness, many people wait for the “perfect time” to get started—whether it’s New Year’s resolutions, a specific date two weeks from now, or even “next Monday.” But life is unpredictable, and waiting for the “right time” might lead to more setbacks than progress. Imagine this: you set your fitness start date,…
-
How to Combat Seasonal Depression (SAD) as an Athlete
Seasonal Affective Disorder (SAD), also known as “Seasonal Depression” or the “Winter Blues,” affects millions worldwide. Many people feel the symptoms without even realizing it. Although often linked to winter, SAD can also occur during the summer. This mood disorder is characterized by recurring depression that typically coincides with specific seasons each year. SAD is…
-
How Can Flexibility Improve Athletic Performance
We often find ourselves stuck in routines or feeling like there’s not enough time to focus on flexibility. Whether you’re powering through a demanding workday, pushing through practice, or dealing with post-workout soreness, improving flexibility can make a noticeable difference in performance and recovery. What Is Flexibility Flexibility is the ability of a joint, or…
-
Static Stretching VS Dynamic Stretching: What’s More Important?
Within the athletic community, there has been an ongoing debate about the benefits of static stretching, the benefits of dynamic stretching and what is more important. The right choice depends on the athlete’s goals. Purpose of Static Stretching and When to Use: Static stretching involves holding a stretch without movement, typically for 30-45 seconds. This…
-
The Best Way to Prep Your Muscles for Workout or Performance
Optimal physical performance and overall fitness require preparation for our muscles to be at their most effective. Whether you’re gearing up for a workout, sports performance, or simply aiming to enhance daily mobility, the type of muscle preparation can significantly impact how you move and feel. Understanding the four essential steps — Release, Mobilize/Stretch, Activate,…
-
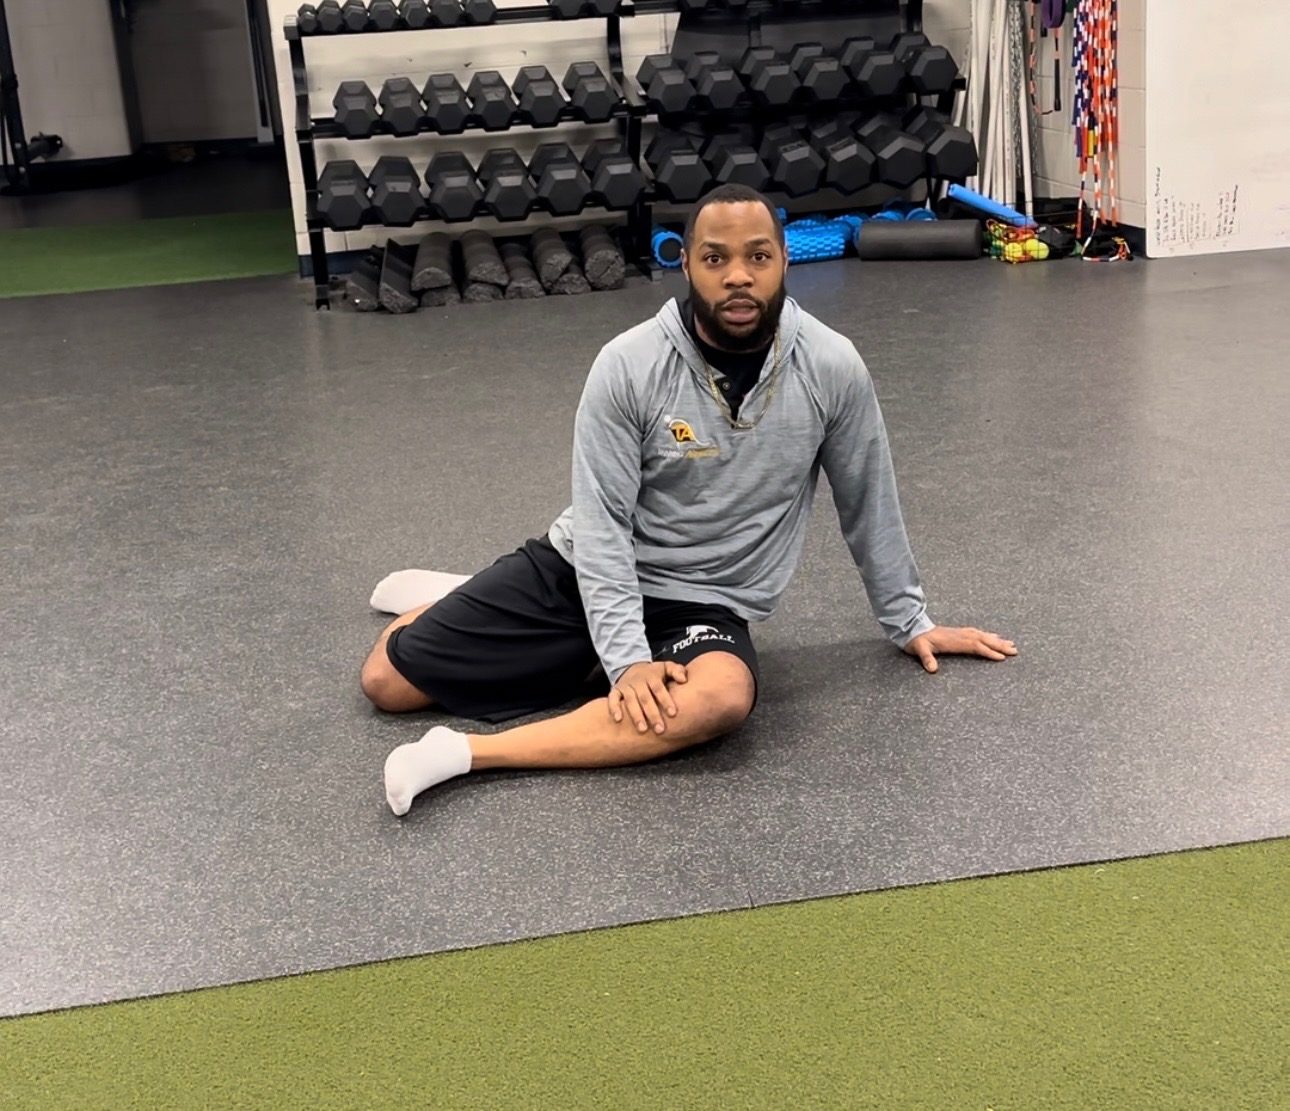
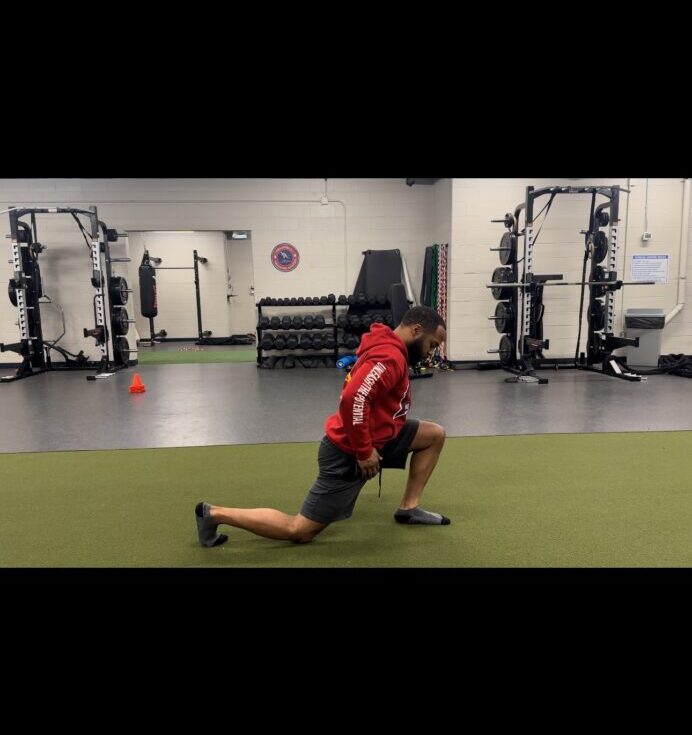
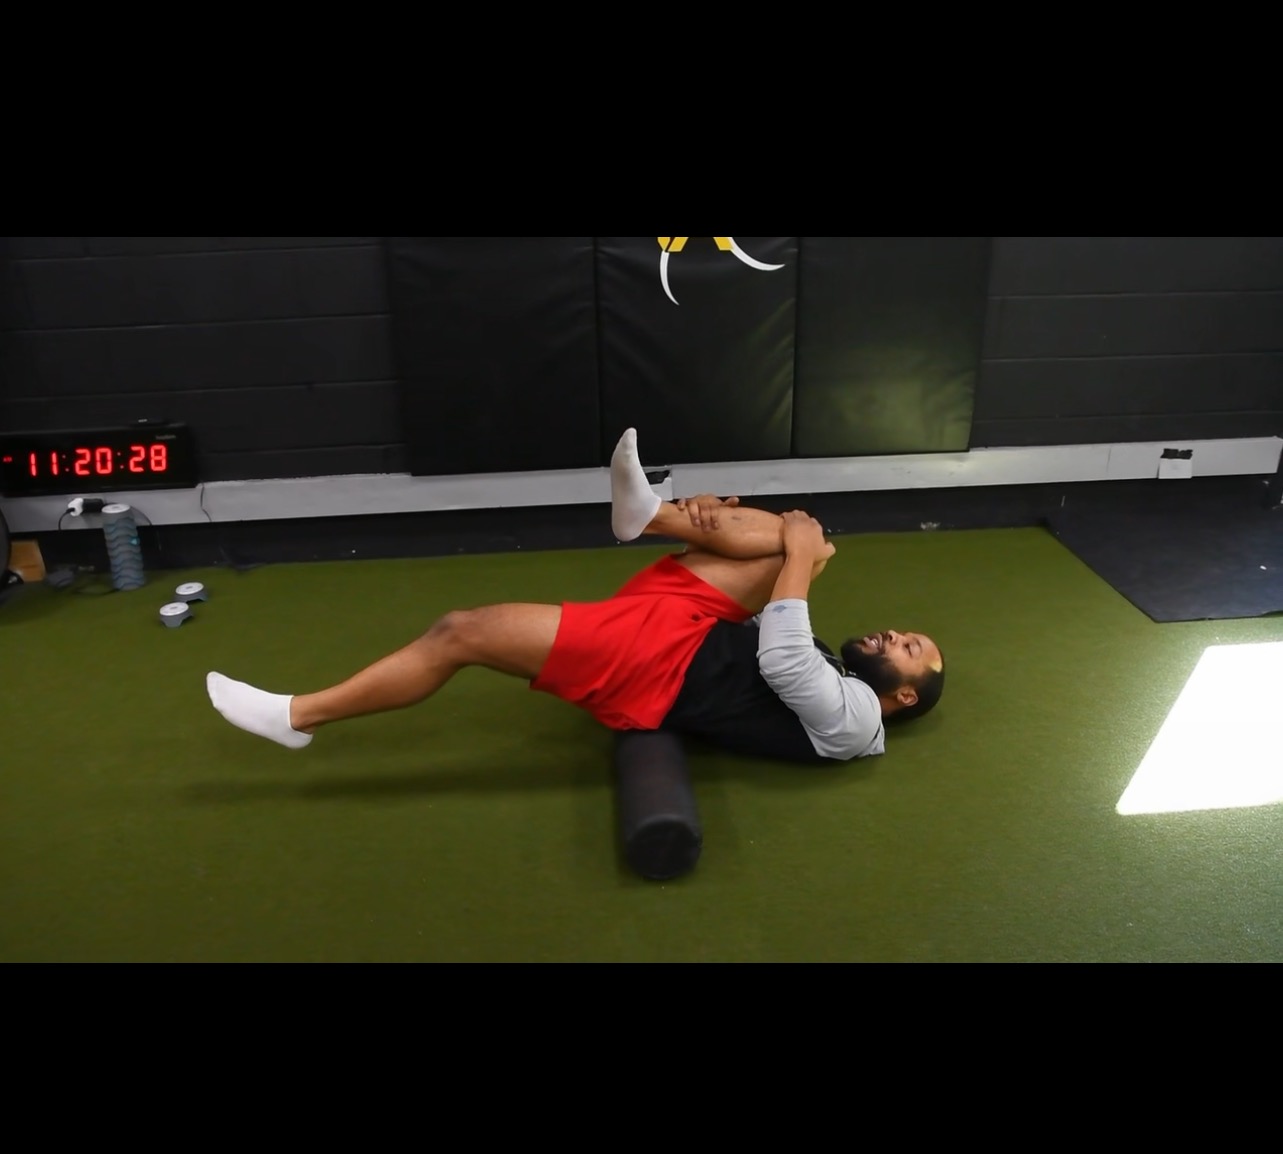
3 exercises for hip relief
Top 3 Ways to Stretch the Hips for Hockey Players Using Foam Rolling If you’re a hockey player, for that matter. We understand the struggle of dealing with tight hips. Hours spent skating weekly, driving from game to game, and traveling across states can put your legs through a beating. Consequently, you may experience lower…