Sports performance
-

Elite Hockey Speed and Explosiveness Leg Workout
Top 3 things to Add to Your Elite Hockey Leg Workout Leg day, usually the toughest day of the week and often skipped! If you are hitting legs than you’re probably loading up on squats and deadlifts which can be great strength builders but are your workouts really optimized for elite sports performance? Learn our…
-
There is no perfect movement, just the right movement for you!
The Importance of Body Positioning for Efficient Movement: Why 80/20 Works In the world of fitness, one common argument is that “movement is movement” meaning, there’s no “correct” way to move. The idea is that to be truly strong, you need to train all possible movement patterns. While this perspective has merit, I believe there’s…
-
Top 3 Things to Add to Your Upper Body Workout
Top 3 Things to Add to Your Upper Body Workout Upper body day, everyone’s favorite day of the week! 😉 Everyone loves a good chest and arms day but are your workouts really optimized for elite sports performance? Learn our top 3 things to add into your upper body programming to not only ensure your…
-
Top 3 Ways to Increase Hockey Speed
Top 3 Ways to Increase Hockey Speed Everyone is always looking to get faster!…there’s millions of drills out there but how do you pick the right ones? Maybe it’s less about the specific drills and more about the focuses of your training! You can do all the “best drills” but if you don’t have the…
-
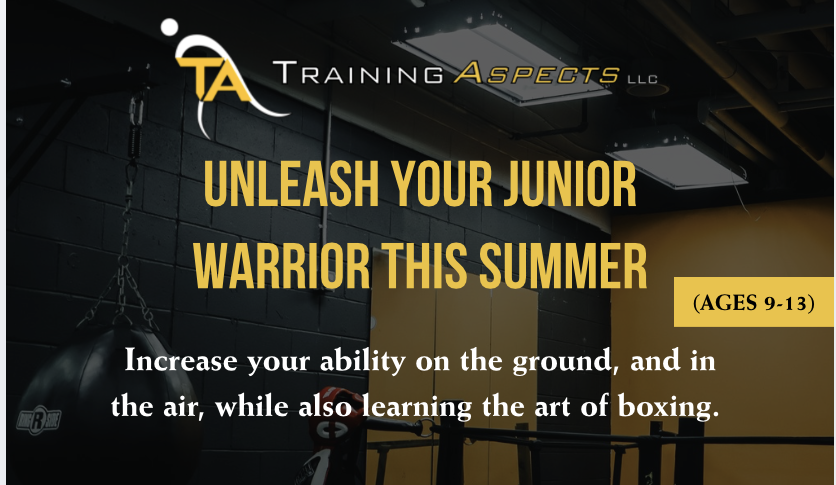
Summer Jr Ninja Warrior Boxing Camp in Voorhees, NJ
Summer JR Warrior Camp Get ready for an action-packed summer at the JR Ninja Warrior Boxing Camp, designed for kids ages 8–12 who want to get stronger, build confidence, and have fun. This unique camp combines boxing fundamentals, ninja-style obstacle training, conditioning, nutrition education, and games to create an exciting and well-rounded experience for young…
-
Maximize Your Off-Season Results with this 1 Technique
Maximize Your Off-Season Results with this 1 Technique Multi-Plane Exercises It’s easy to get stuck in one plane of motion when designing a training program. The majority of popular exercises out there are all the in the sagittal plane of motion (forward and back). This includes the squat, deadlift, bench, shoulder press, bicep curls just…
-
Train Your Core for Performance, Not Just looks – TA, Voorhees NJ
Core Performance Training at Training Aspects Most people think core training is about shredded looking abs. In reality, true core strength is about control, stability, and power under load. A strong core helps you rotate efficiently, resist unwanted movement, and transfer force and power safely whether in sport or daily life. Instead of endless crunches…
-
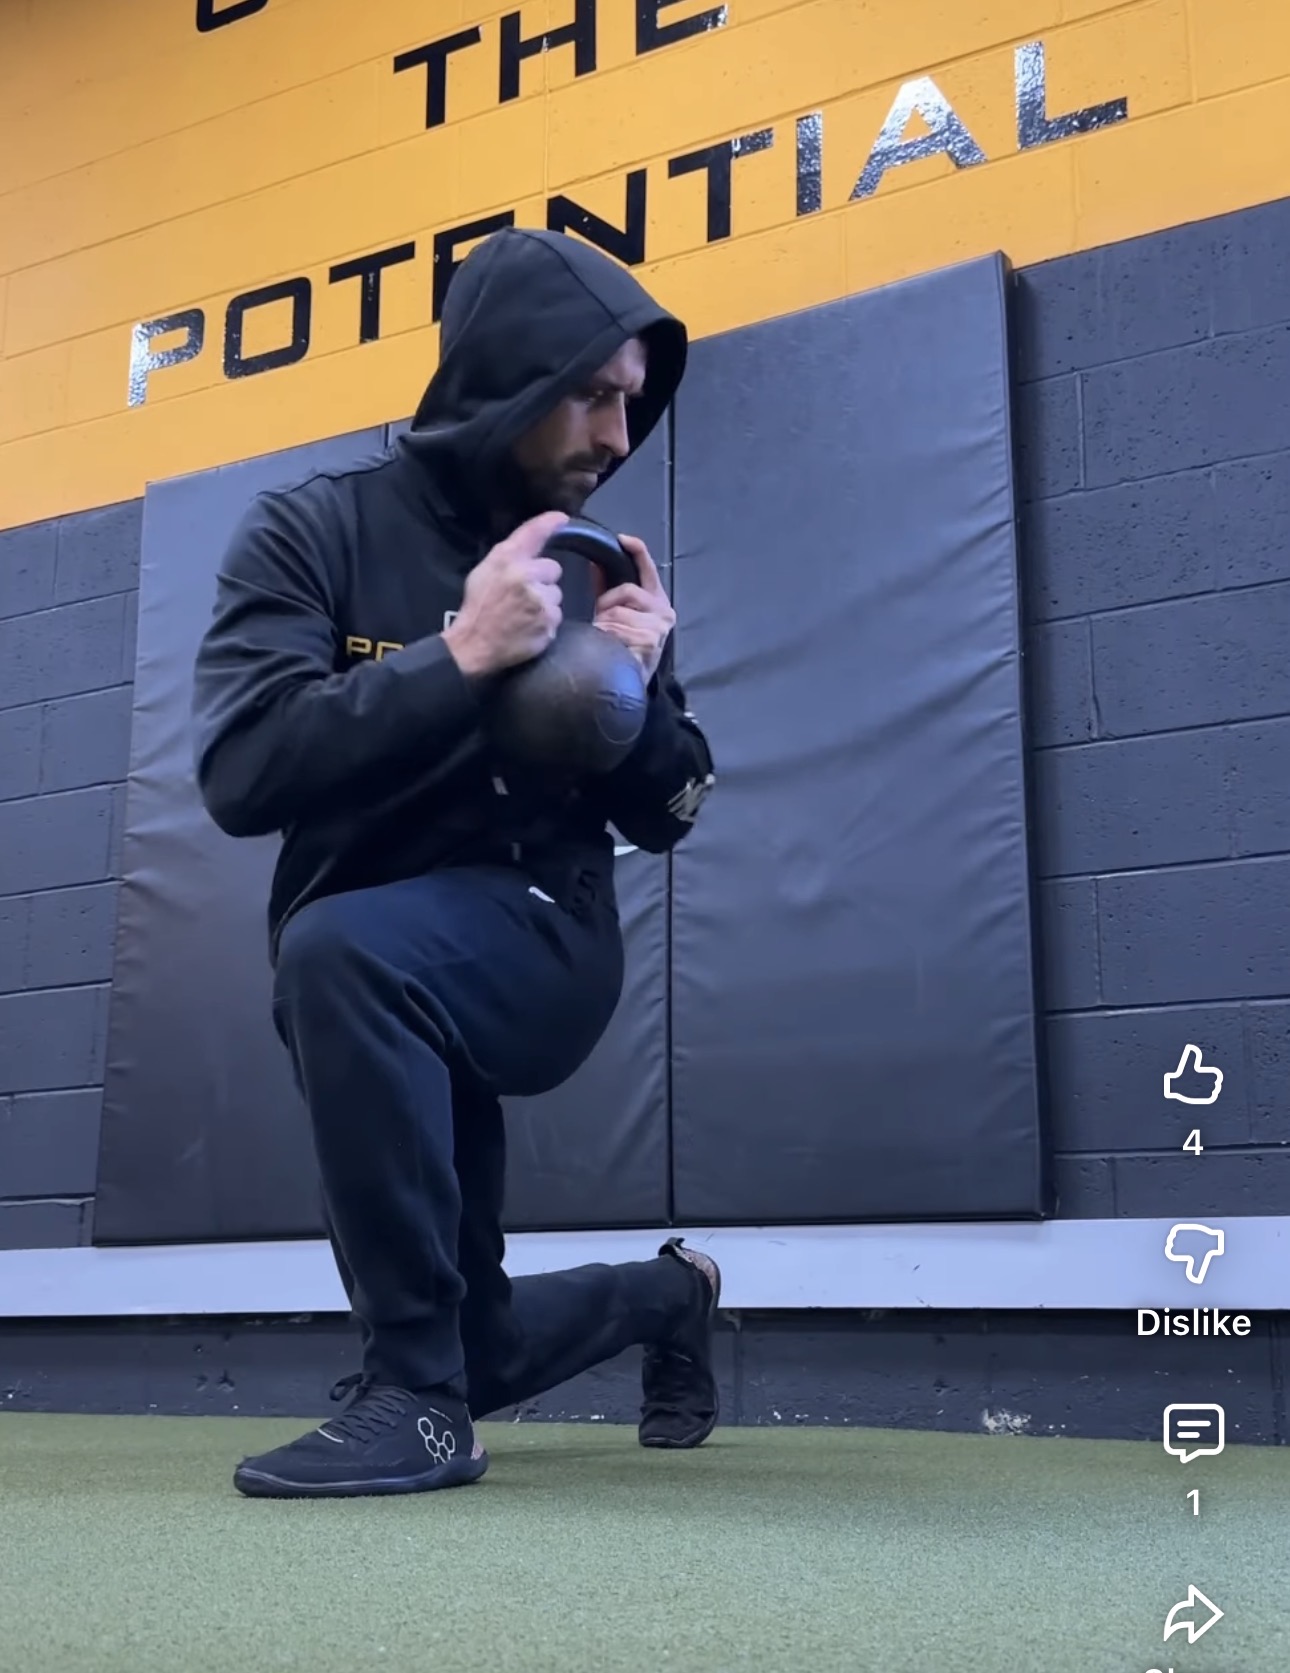
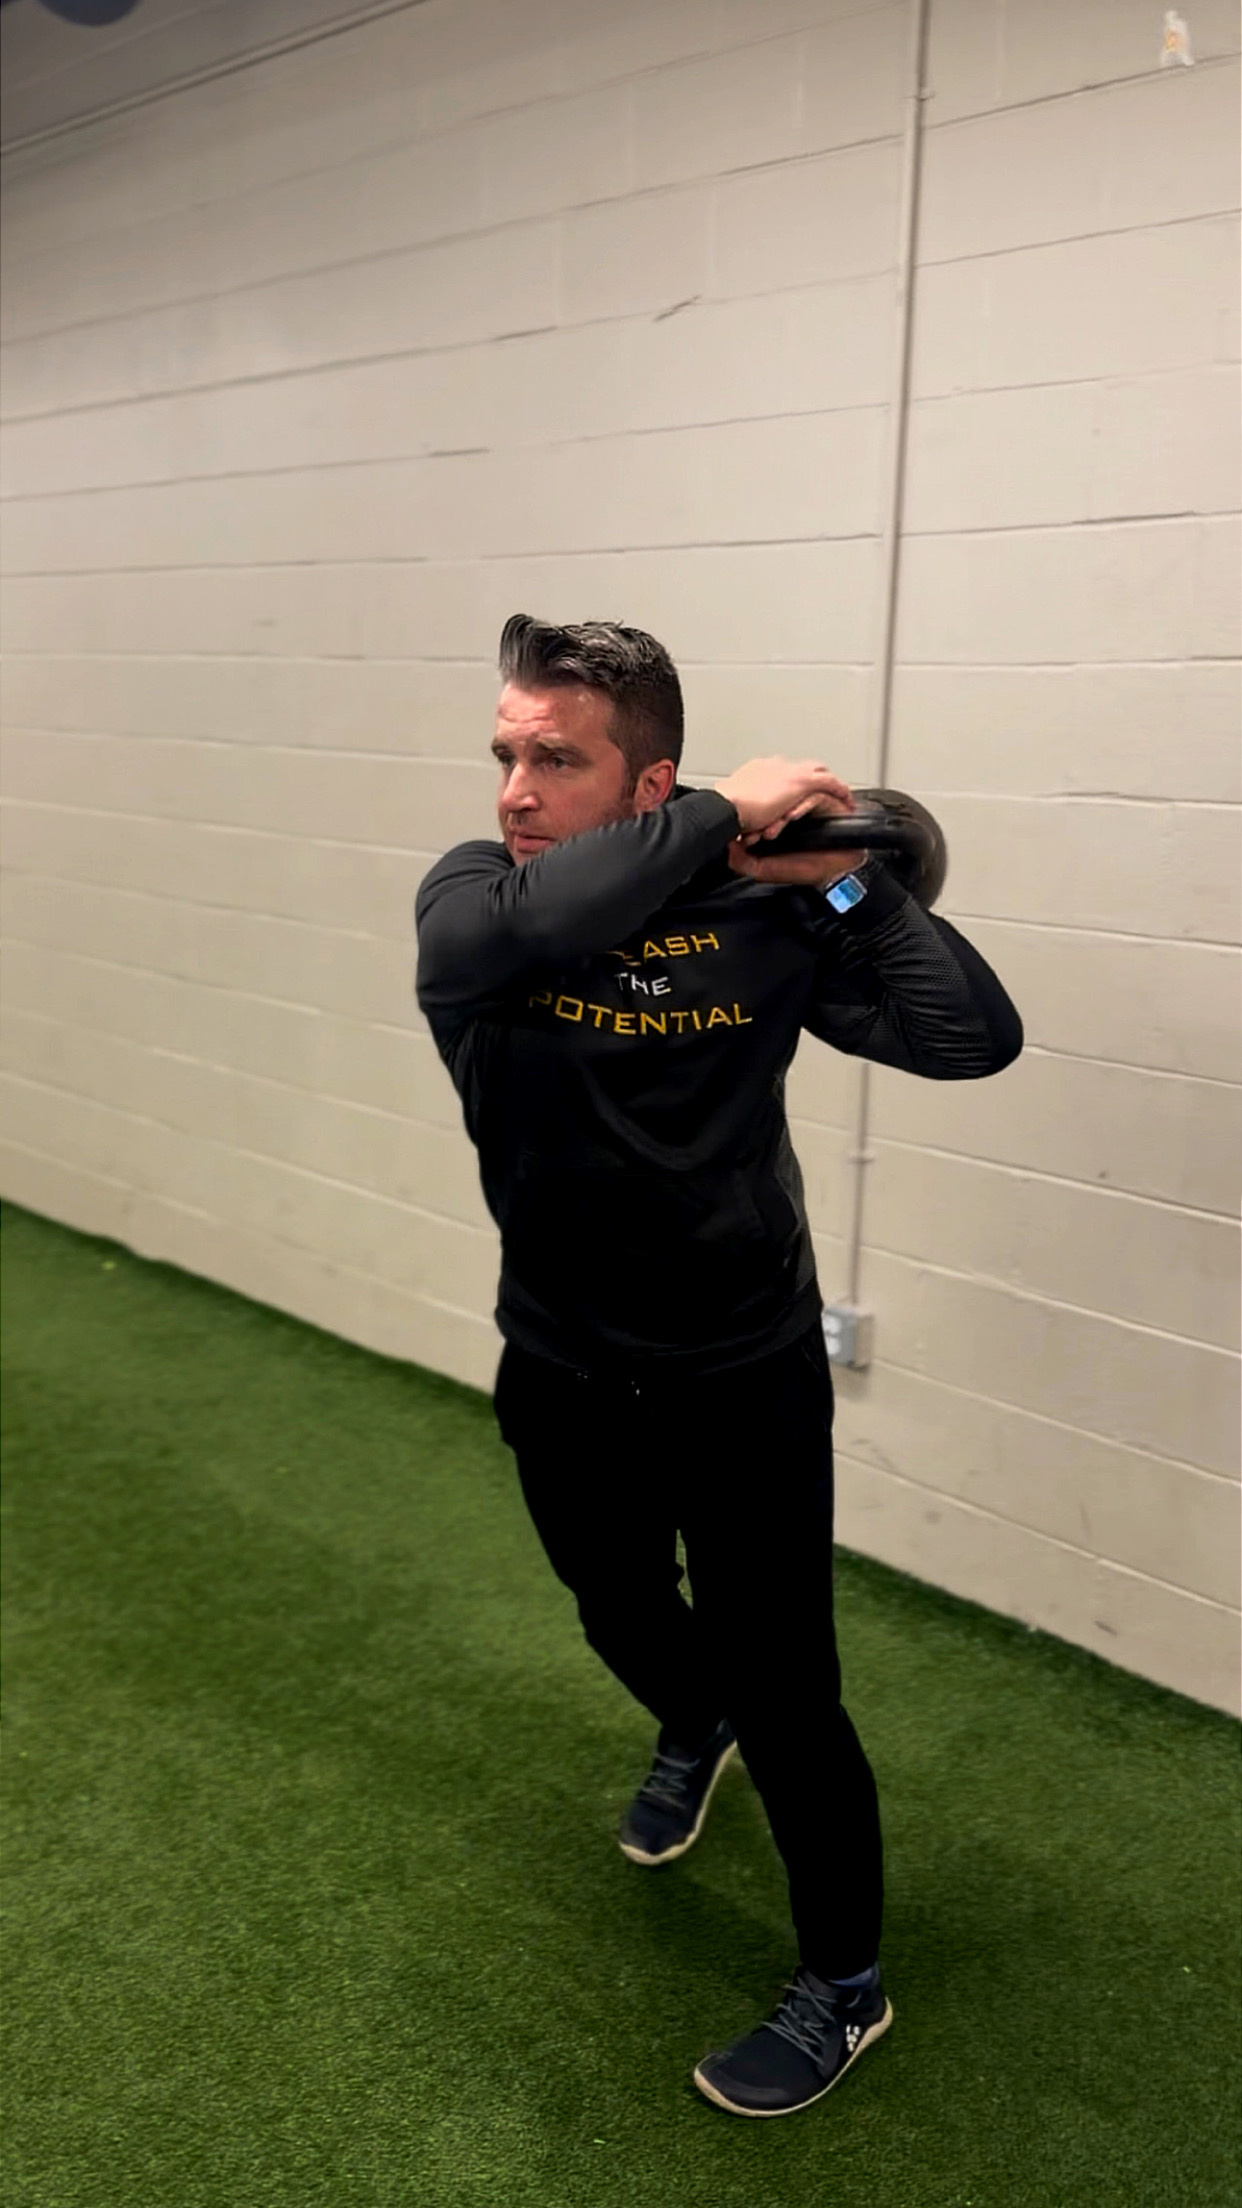
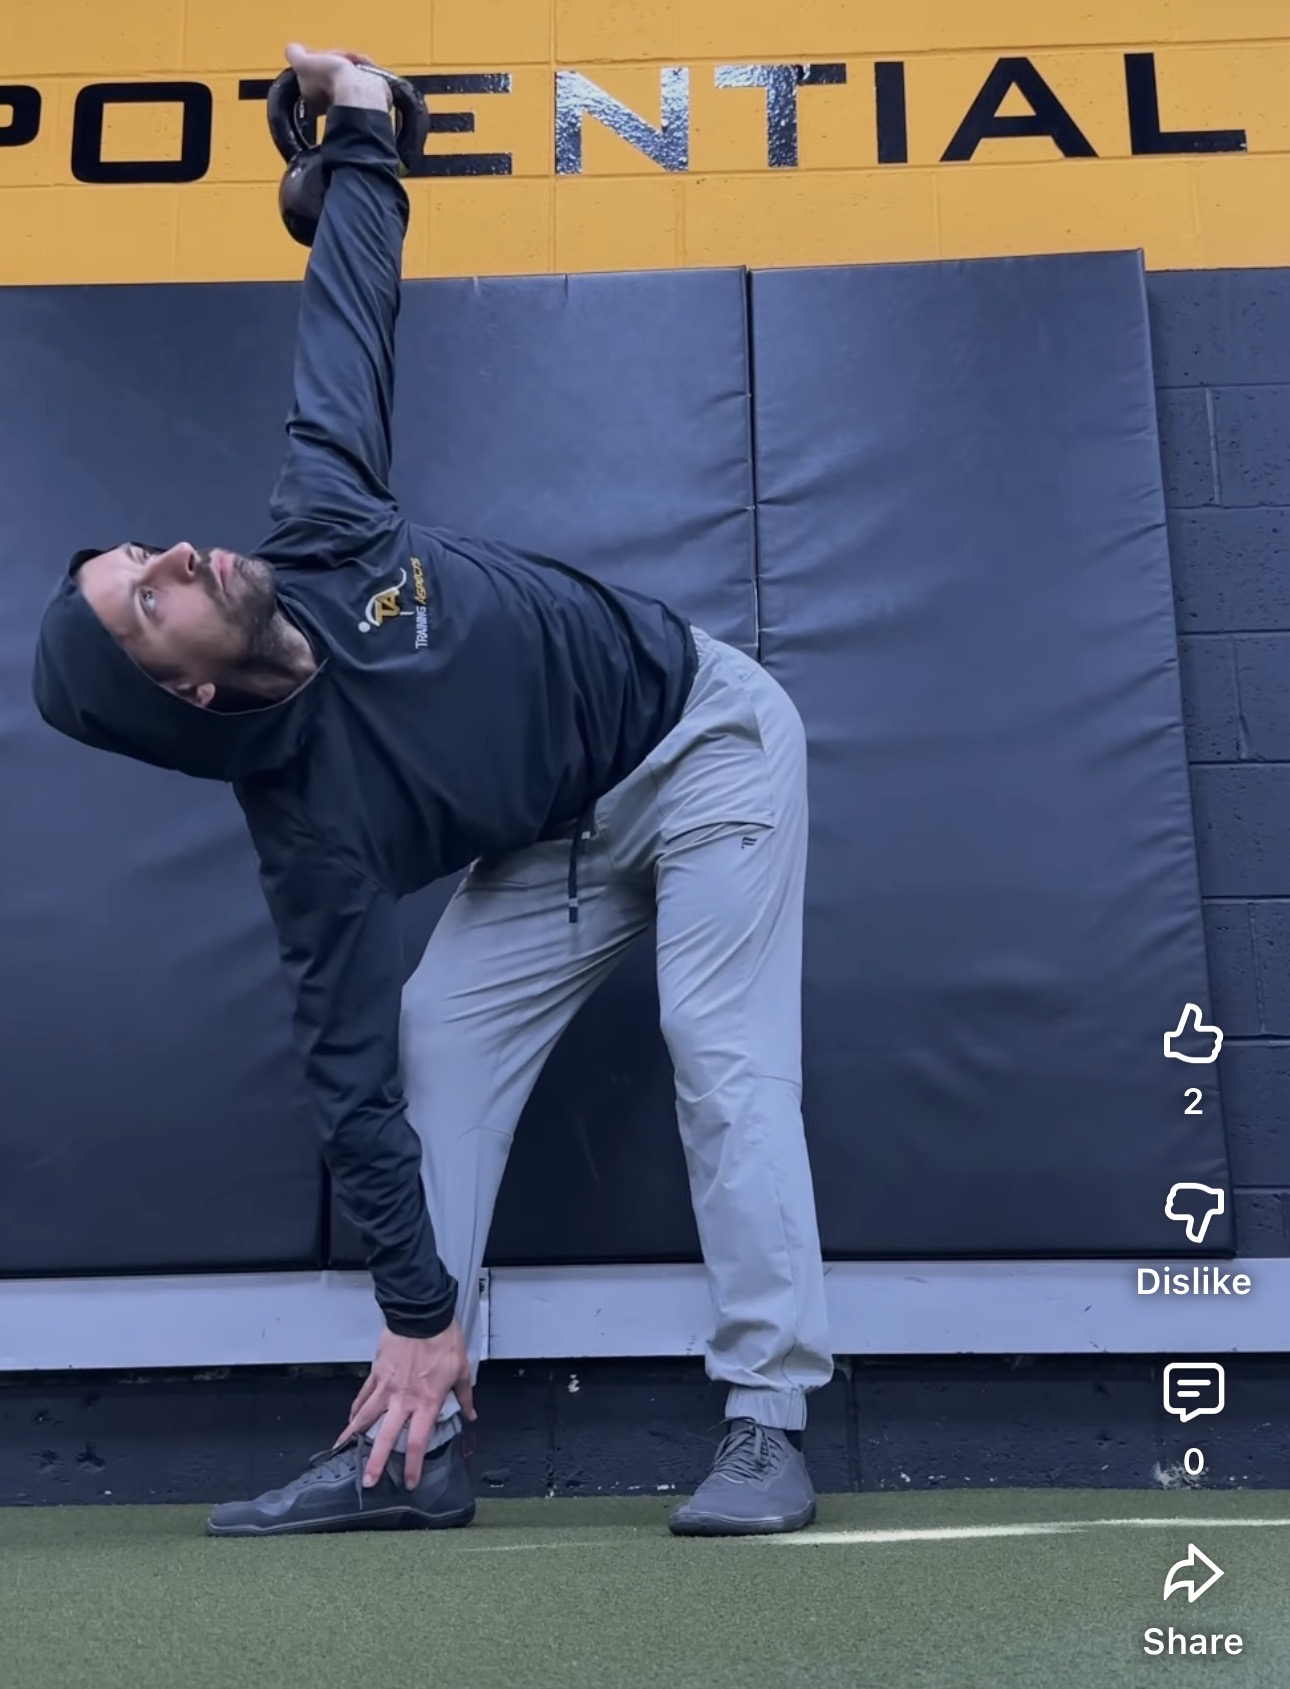
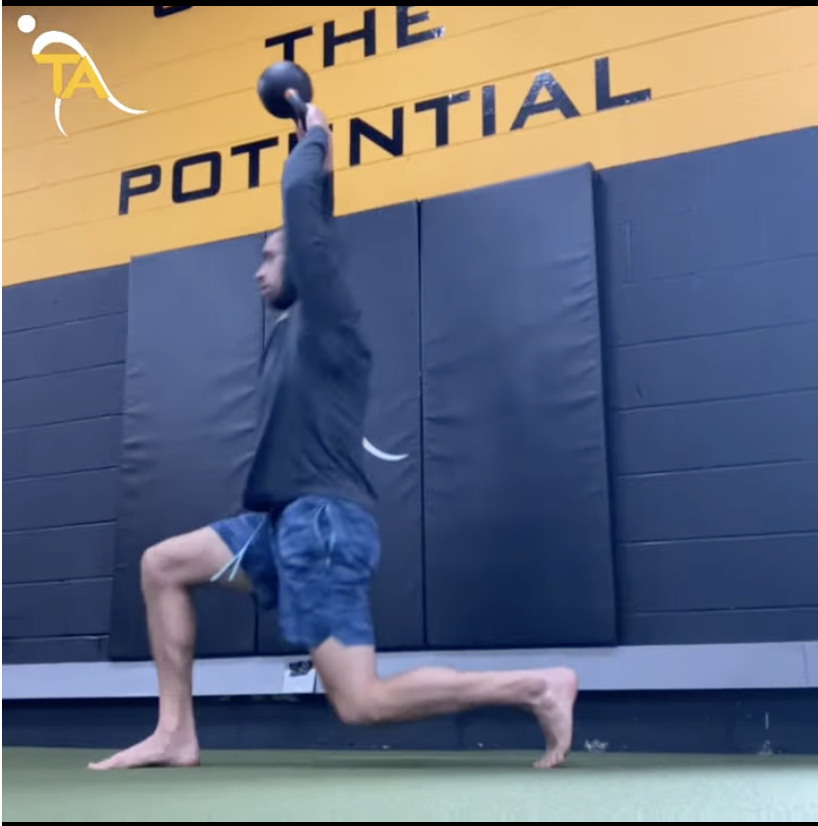
Increase Sports Performance With This 1 Technique
Maximize Sports Performance with Kettlebell Flow Everyone is always looking for the secret sauce when it comes to improving performance! Although there is no one specific thing that will automatically make you an amazing athlete, improving your weight transfer and flow of movement can have a huge impact on your movement speed, explosiveness and…
-
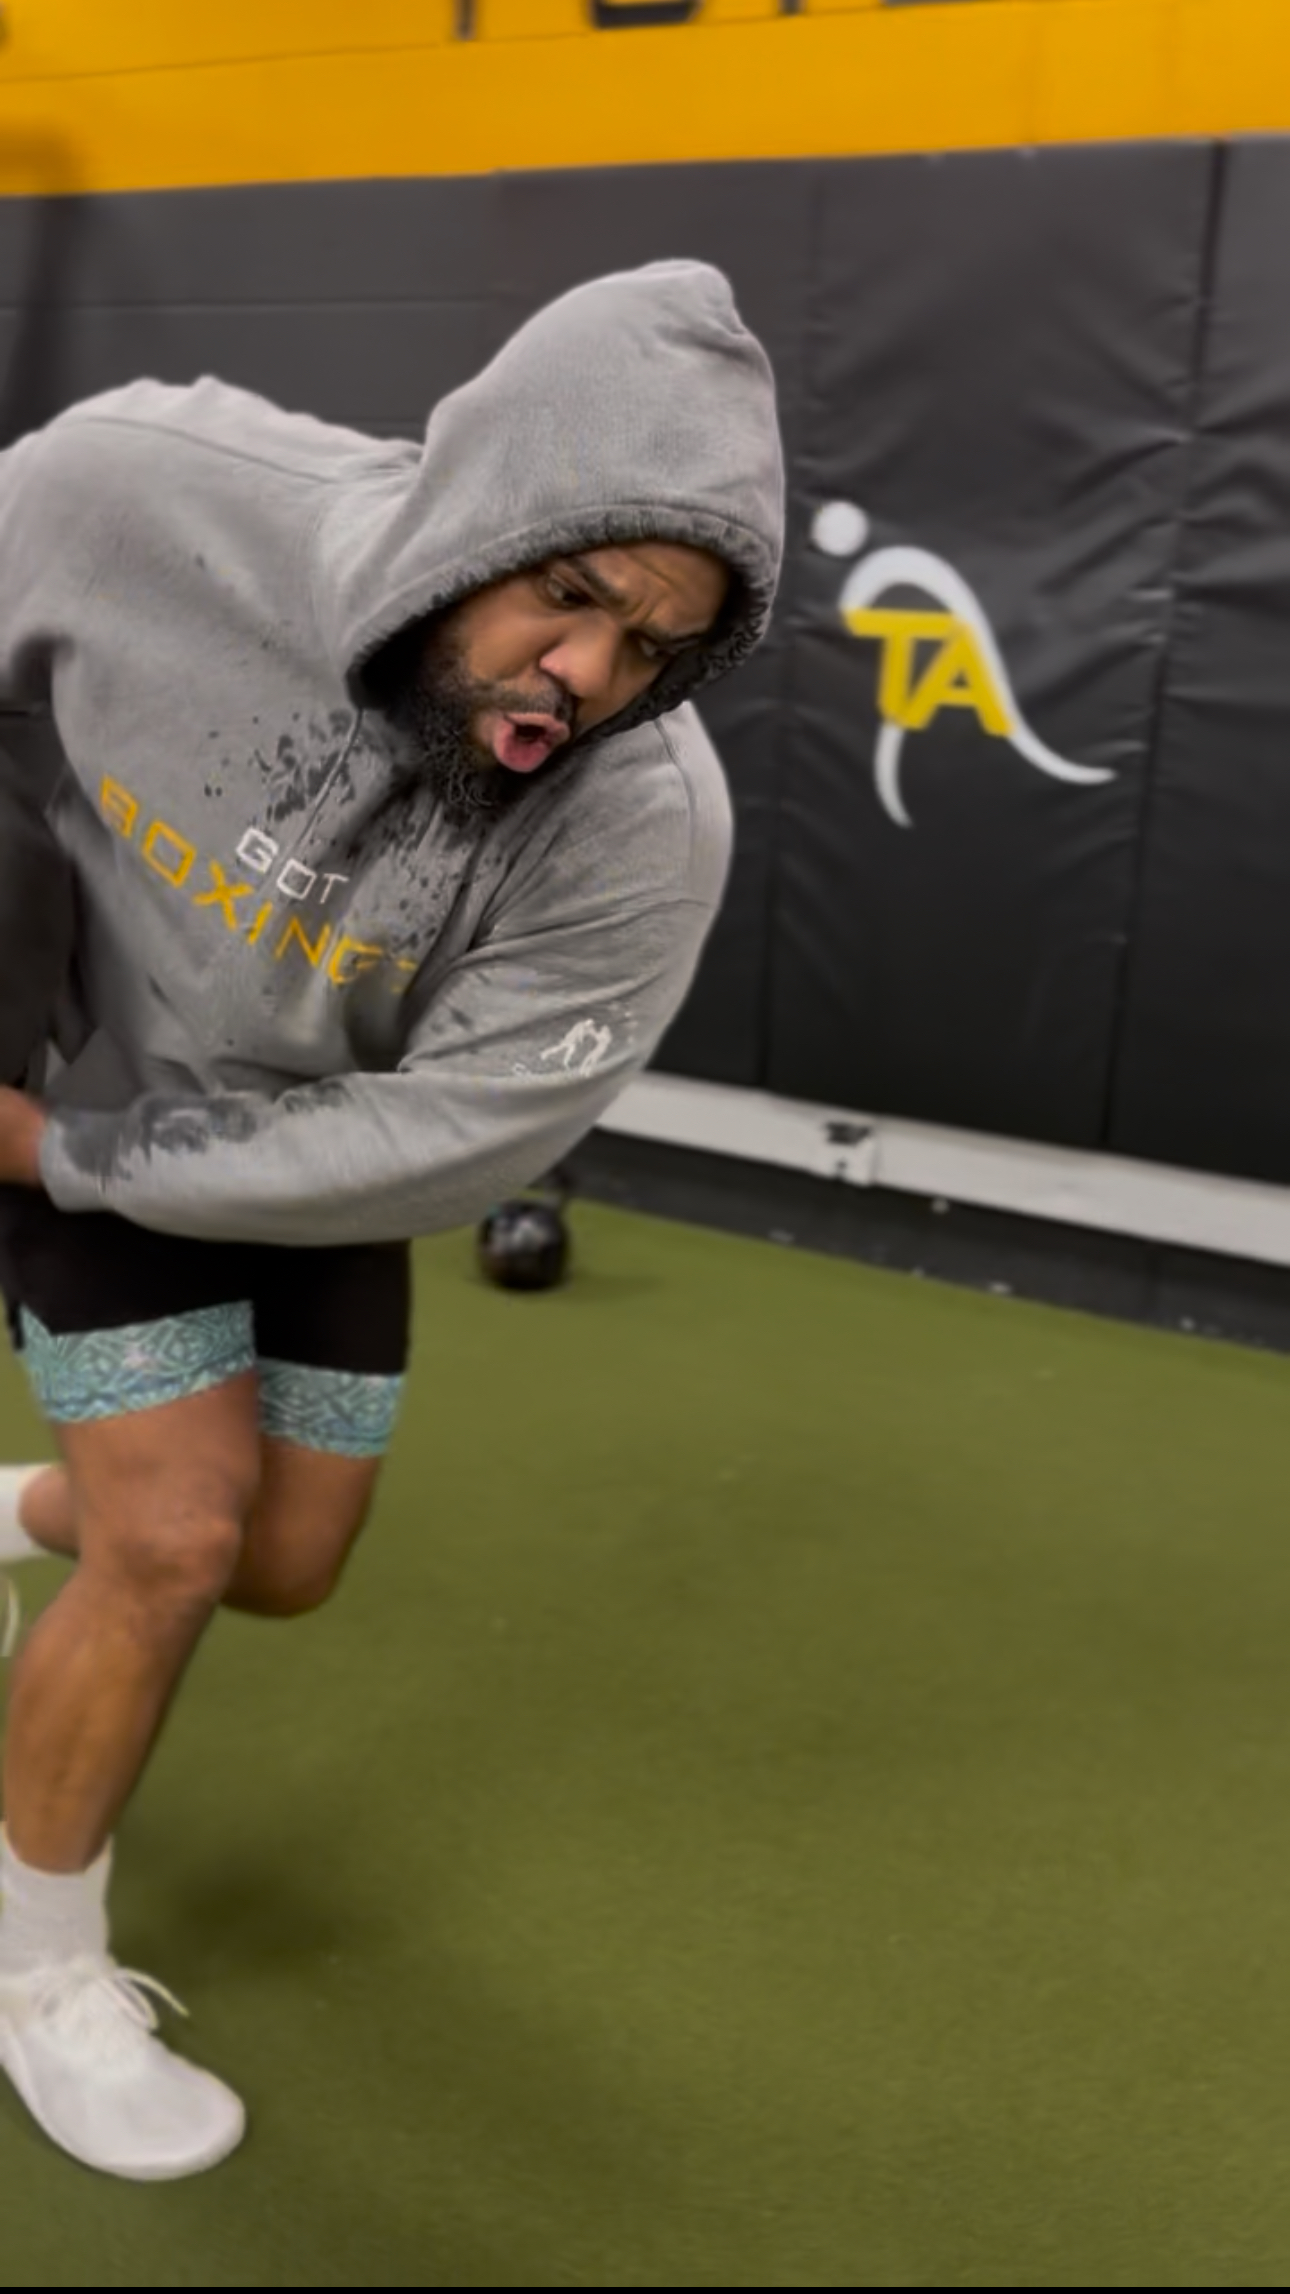
Top 3 Reasons to Add Rotational Wall Slams to Your Training
Rotational Wall Slams to Generate Real Power Rotational wall slams are a simple but powerful way to build real athleticism. Here are three key reasons to include them in your training: 1. Explosive Power Generation Wall slams train your ability to produce force quickly. The rotational drive builds usable, sport-specific power that transfers to sprinting,…
-
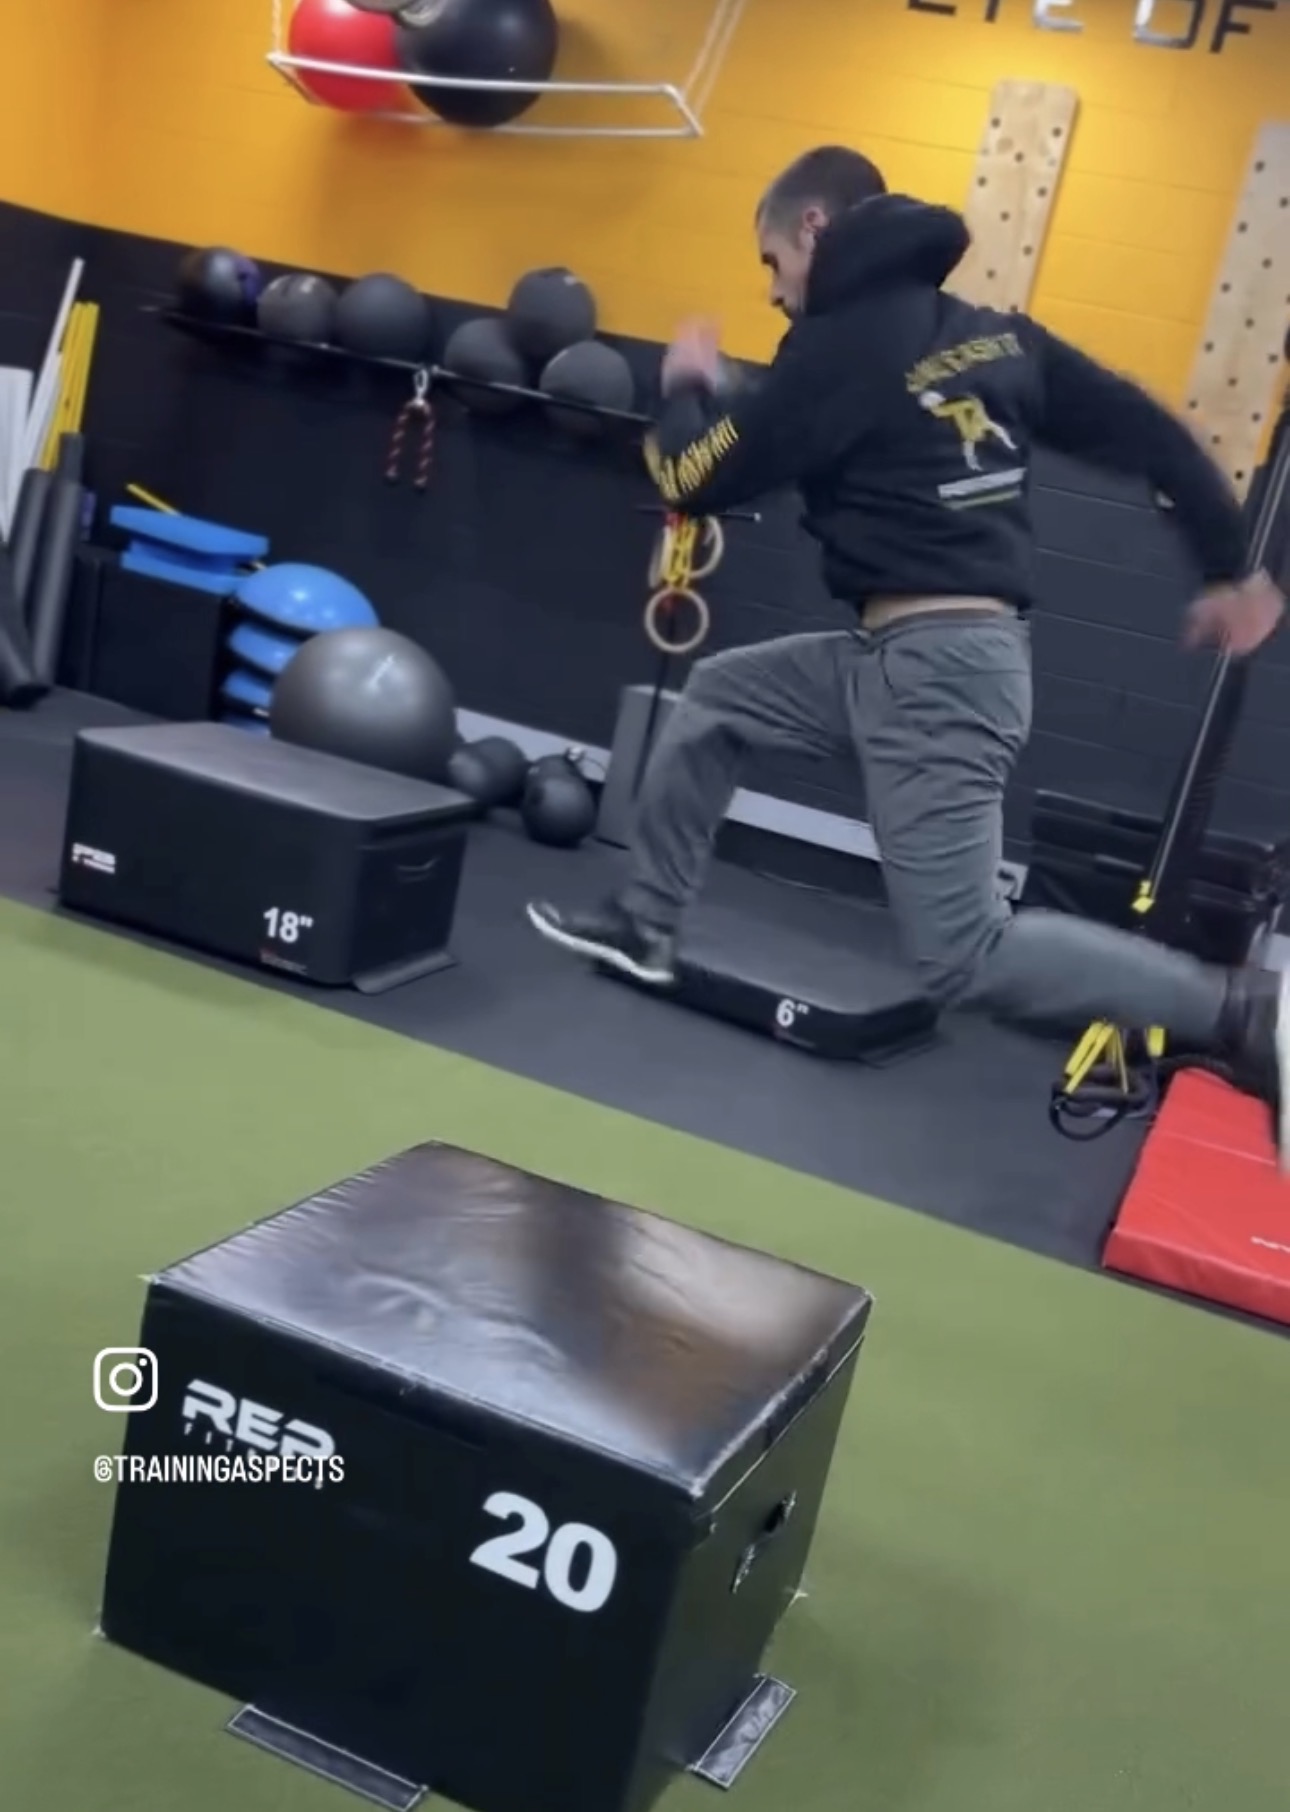
Maximize Your Speed and Explosiveness with these Plyos
How To Progress Your Plyos Properly! Everyone loves some plyos! They’re great for getting faster and increasing explosiveness! Only problem is they are usually progressed way to quickly by jumping right in the fancy stuff. It’s important to slow it down and build the base first! Create a strong foundation by focusing on proper form…
-
If your child wants to go pro, read this
Are You Ready to Be Different? Choosing the Right Coach and the Right Life From the outside, success in sport looks exciting! Bright lights, big games, scholarships,Professional contracts. What most people don’t see is the quiet sacrifice that begins long before the spotlight ever shows up. For an athlete with a vision for success, the…
-
Women’s Boxing Fundamentals & Cardio Classes in Voorhees, NJ
3 Reasons Cardio Boxing and Fundamentals is for You Build Real Confidence Boxing teaches you how to move with purpose, protect yourself, move forward during tough times and push through mental limits. There’s nothing more empowering than knowing you’re strong, capable, and in control under pressure. Incredible Full-Body Fitness Boxing combines cardio, strength training, coordination,…