Cherry Hill sports performance
-

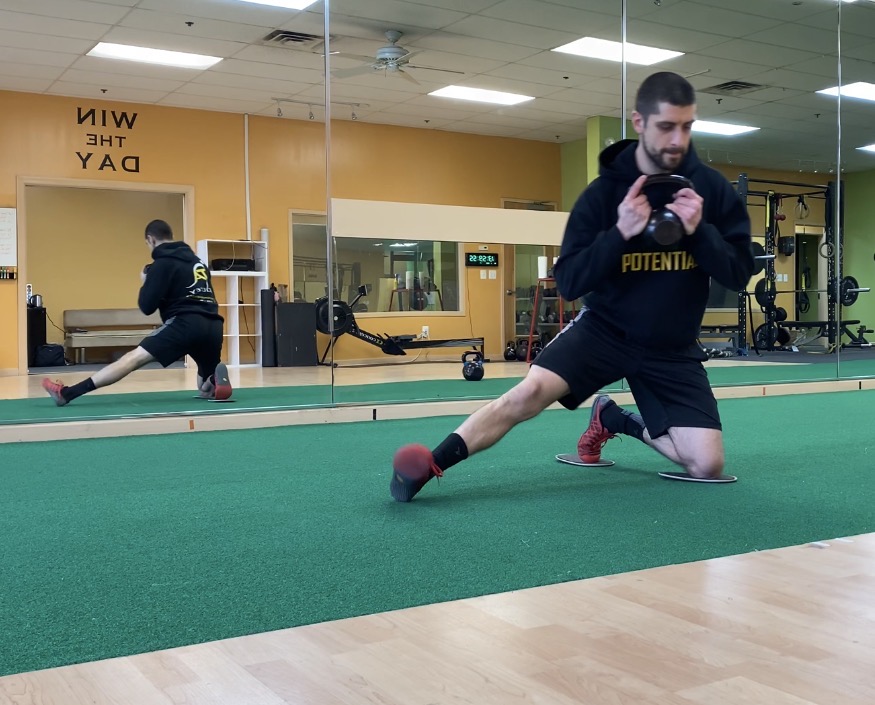
Top 6 Goalie Off-Ice Exercises
Top 6 Goalie Off-Ice Exercises Goalie’s never get the love they deserve! SO we’re bringing you one of the best off-ice workouts designed specifically for a goalie! This video went viral on youtube and for good reason…it has it all! Including up/down movement quickness, lateral explosiveness and push-off power, core stability and overall hip strength…
-
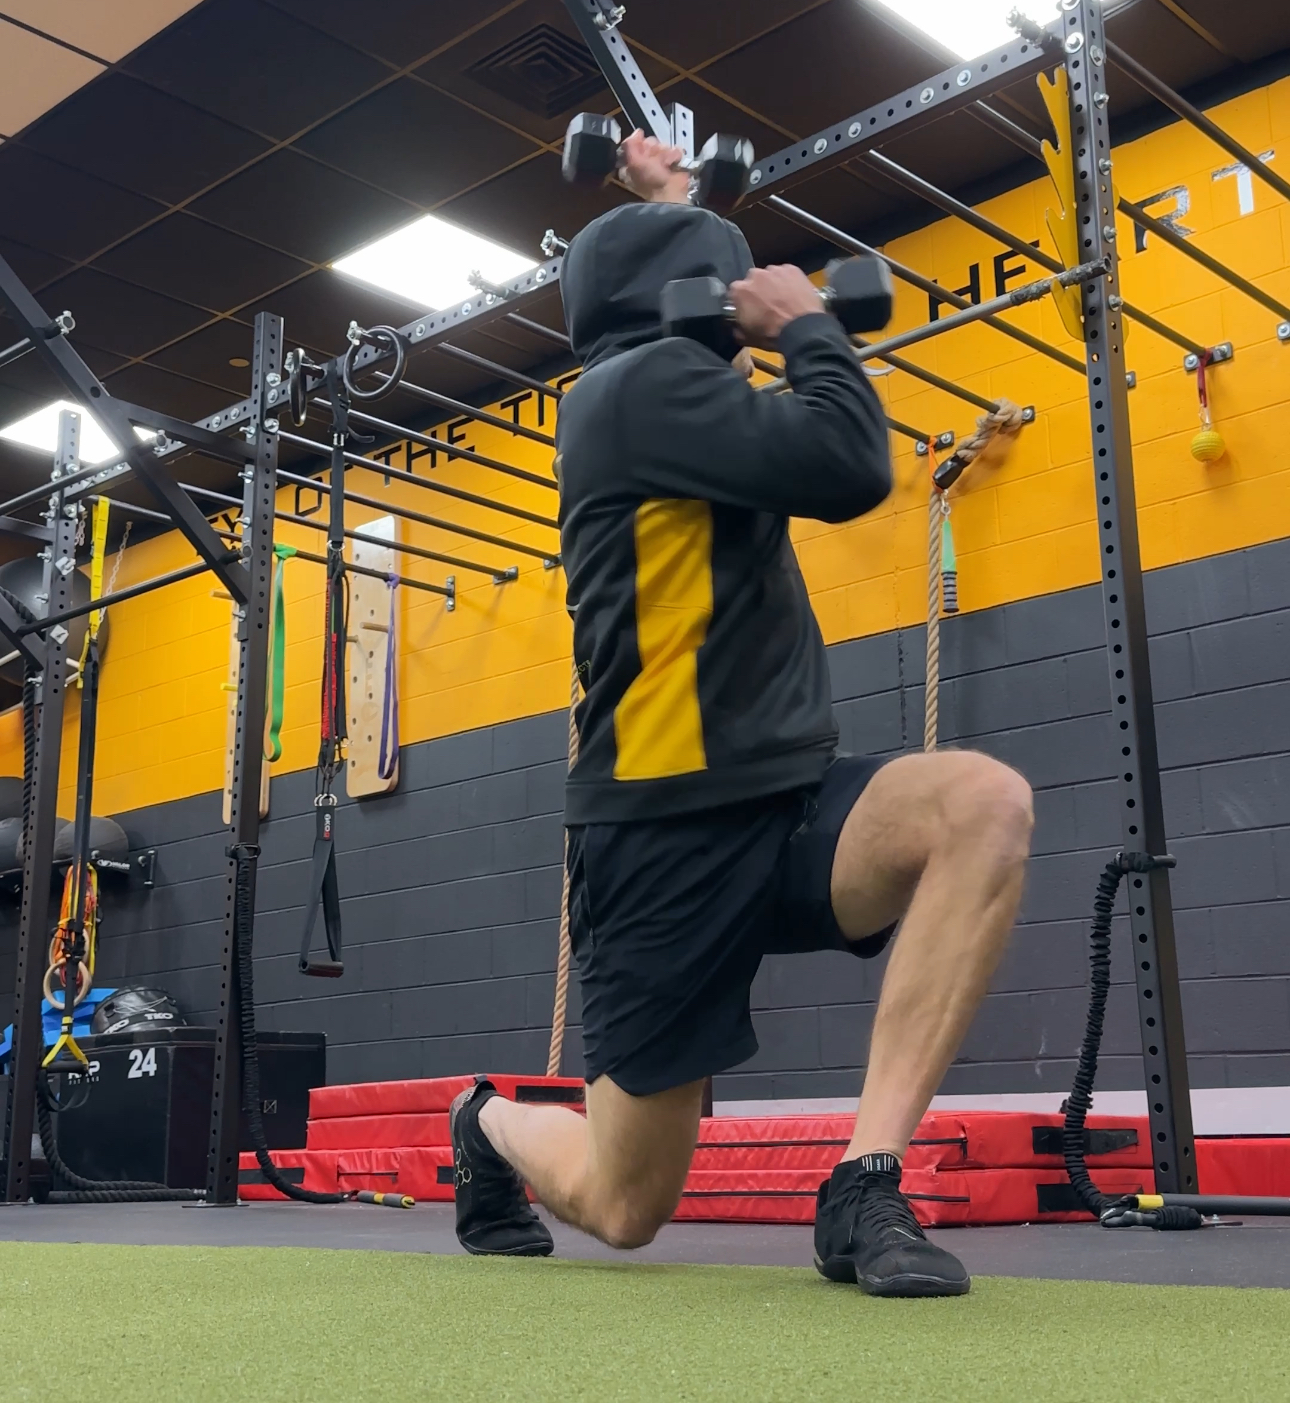
Not Your Average Dumbbell Workout for Athletes
Not Your Average Dumbbell Workout for Athletes Dumbbells are probably the most used piece of equipment in any gym…but are you getting the most out of your dumbbell workouts as you could be? Many use dumbbells for bicep curls and chest presses which can be nice accessory lifts and good for targeting specific muscles but…
-
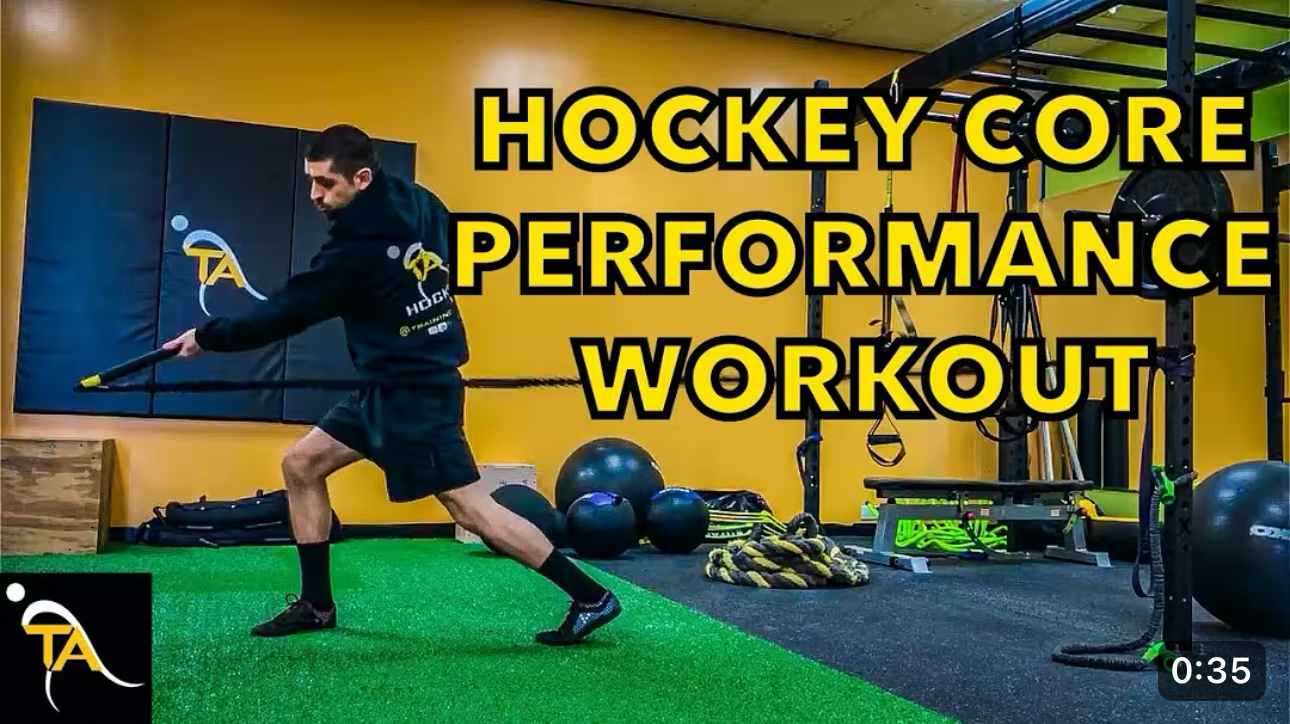
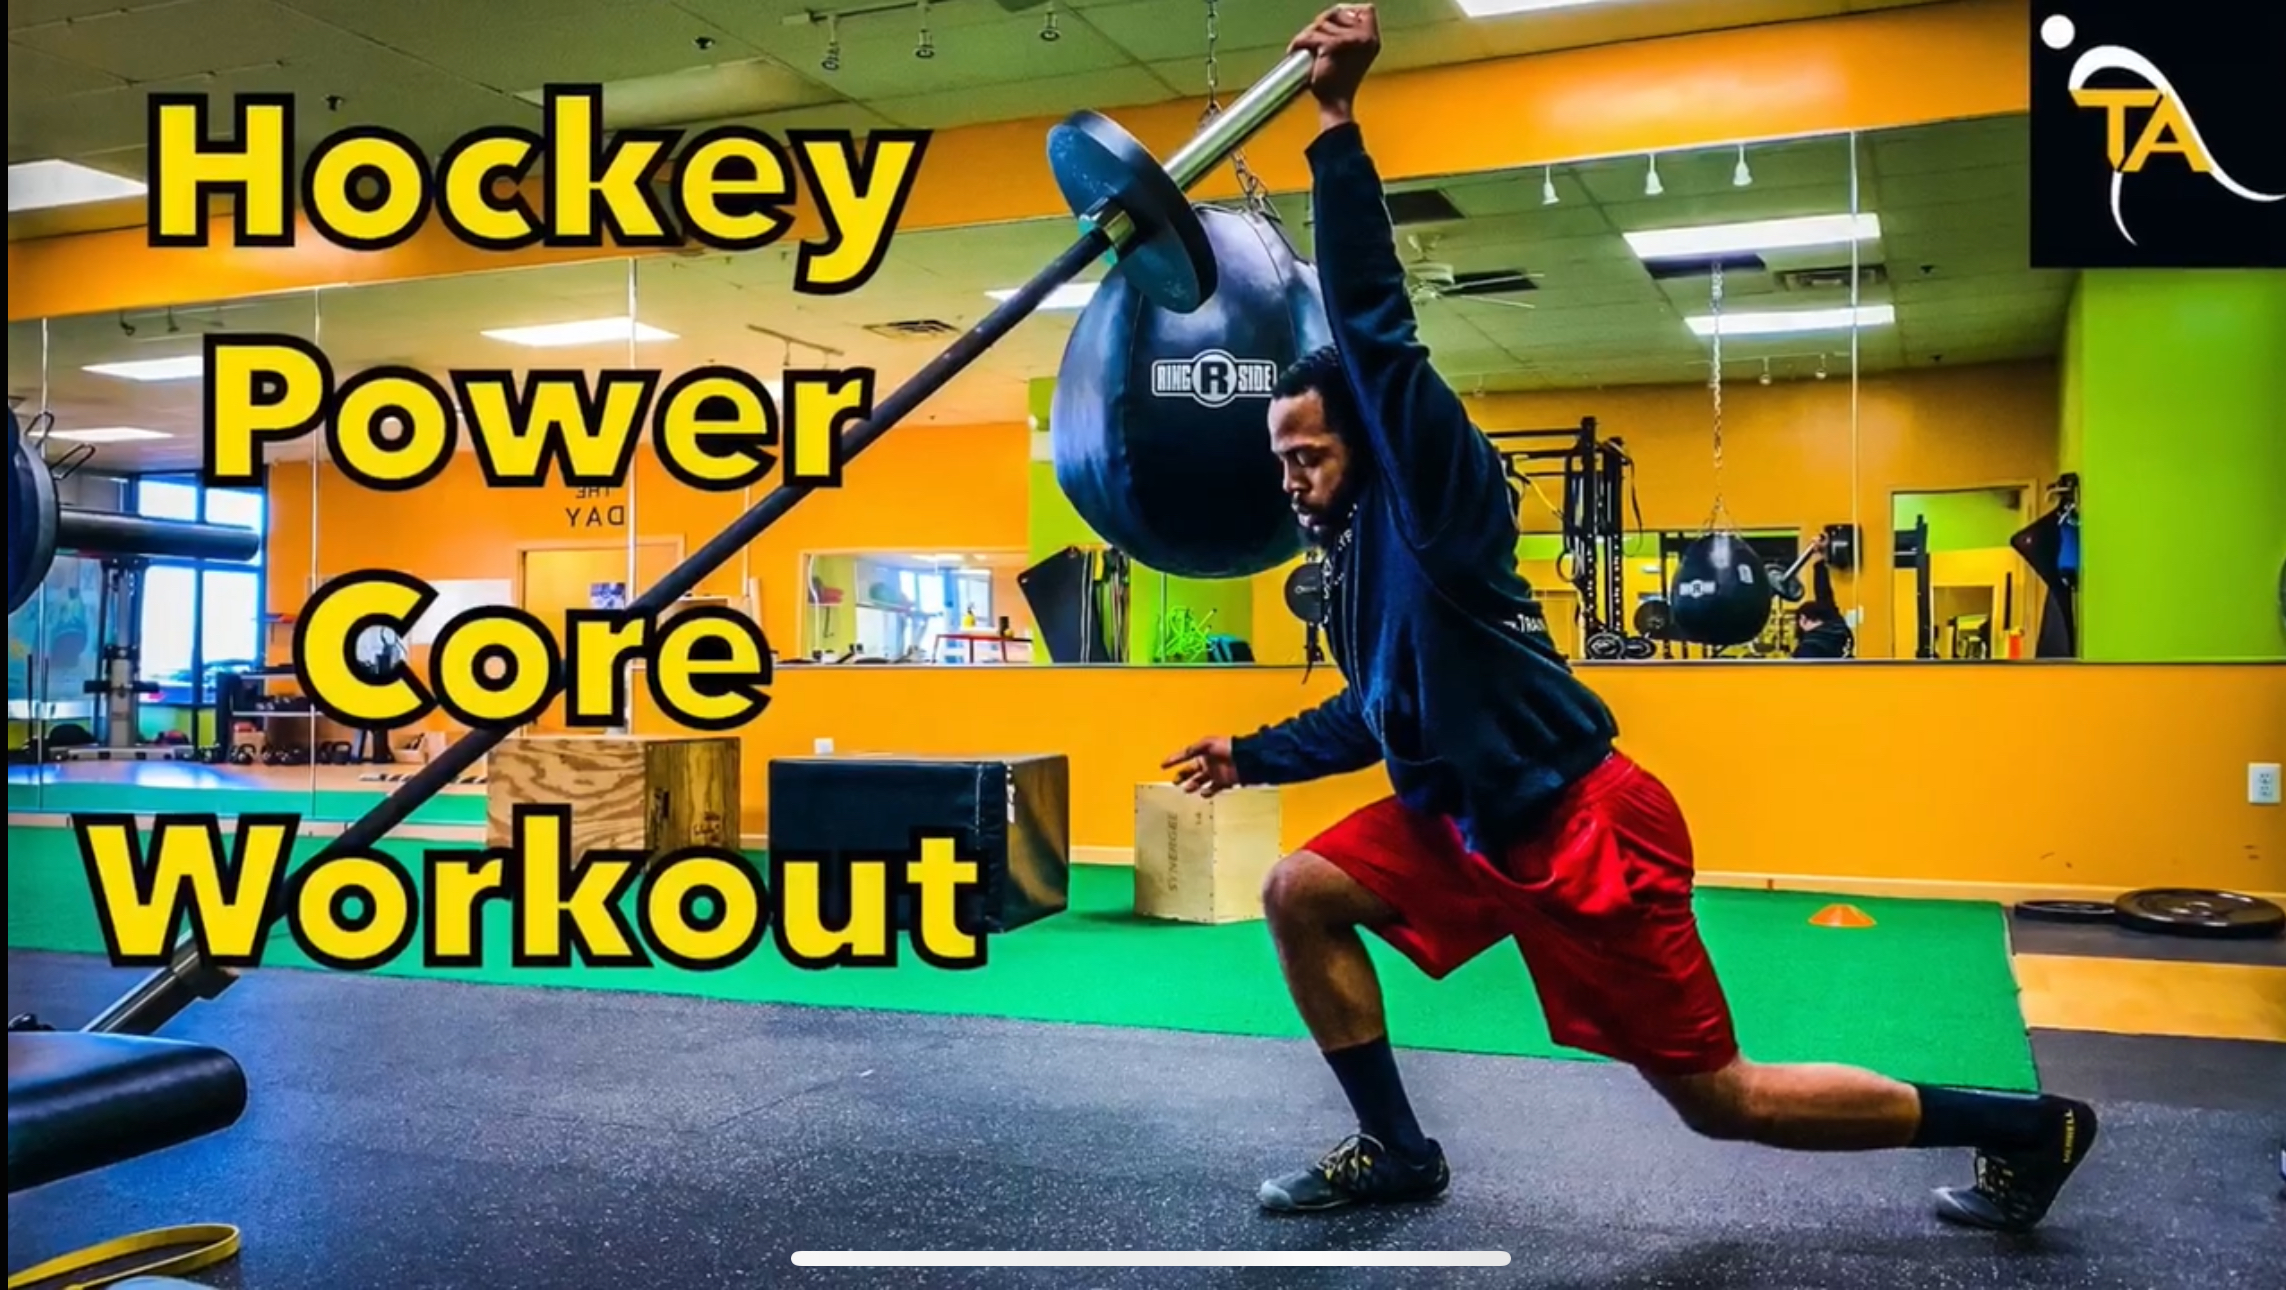
Elite Hockey Core Performance Workout
Elite Hockey Core Performance Workout To maximize your Hockey core performance, add these 4 exercises into your training program. Strengthen your core stability in movement. Core strength for hockey, is trained best in movement. **Complete the movements with purpose** 1. Ripper speed shot– Break down the movements, back foot pivots, snap the hip, torso twists…
-
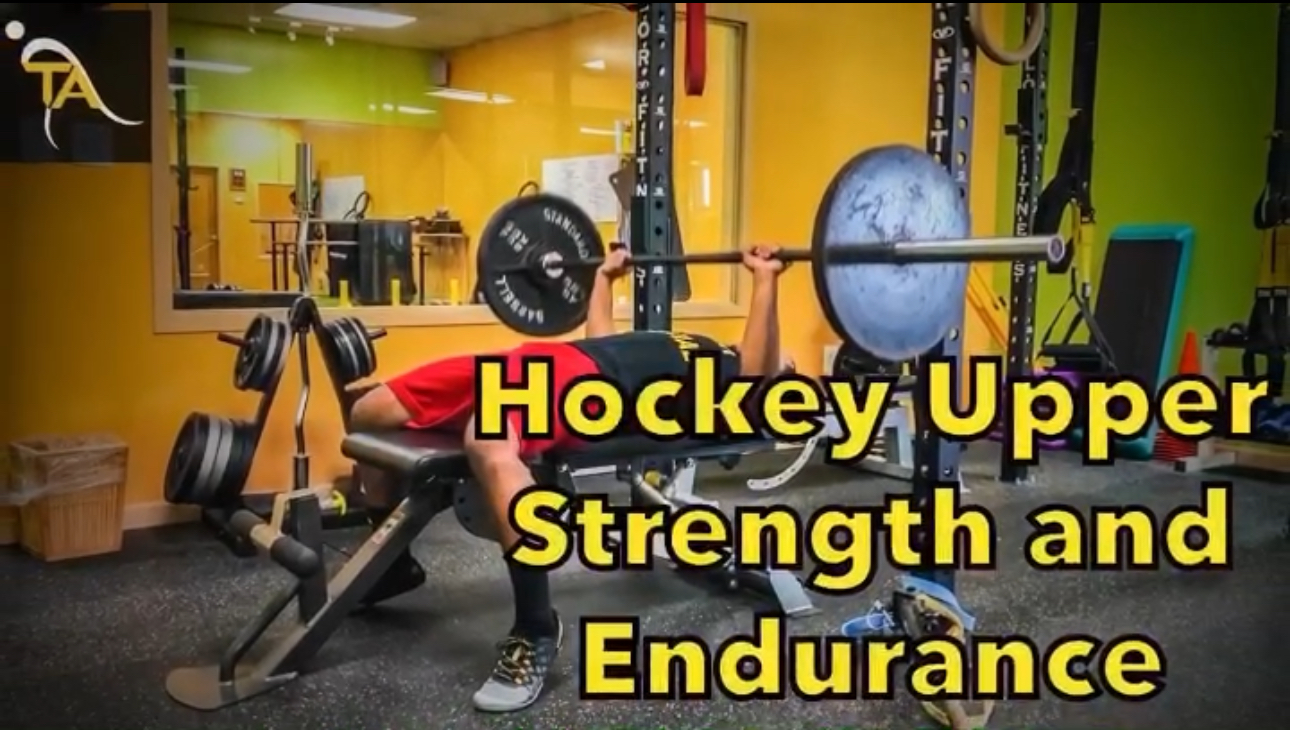
Best Upper Body Strength and Endurance Workout for Hockey Players
Best Upper Body Strength and Endurance Workout for Hockey Players The goal of this workout is fatigue the muscle through a heavy set (6-8 reps), then drop the weight for a speed set (15 reps), and finish the muscle off with a bodyweight exercise to full fatigue. Doing this will not only greatly improve strength…
-
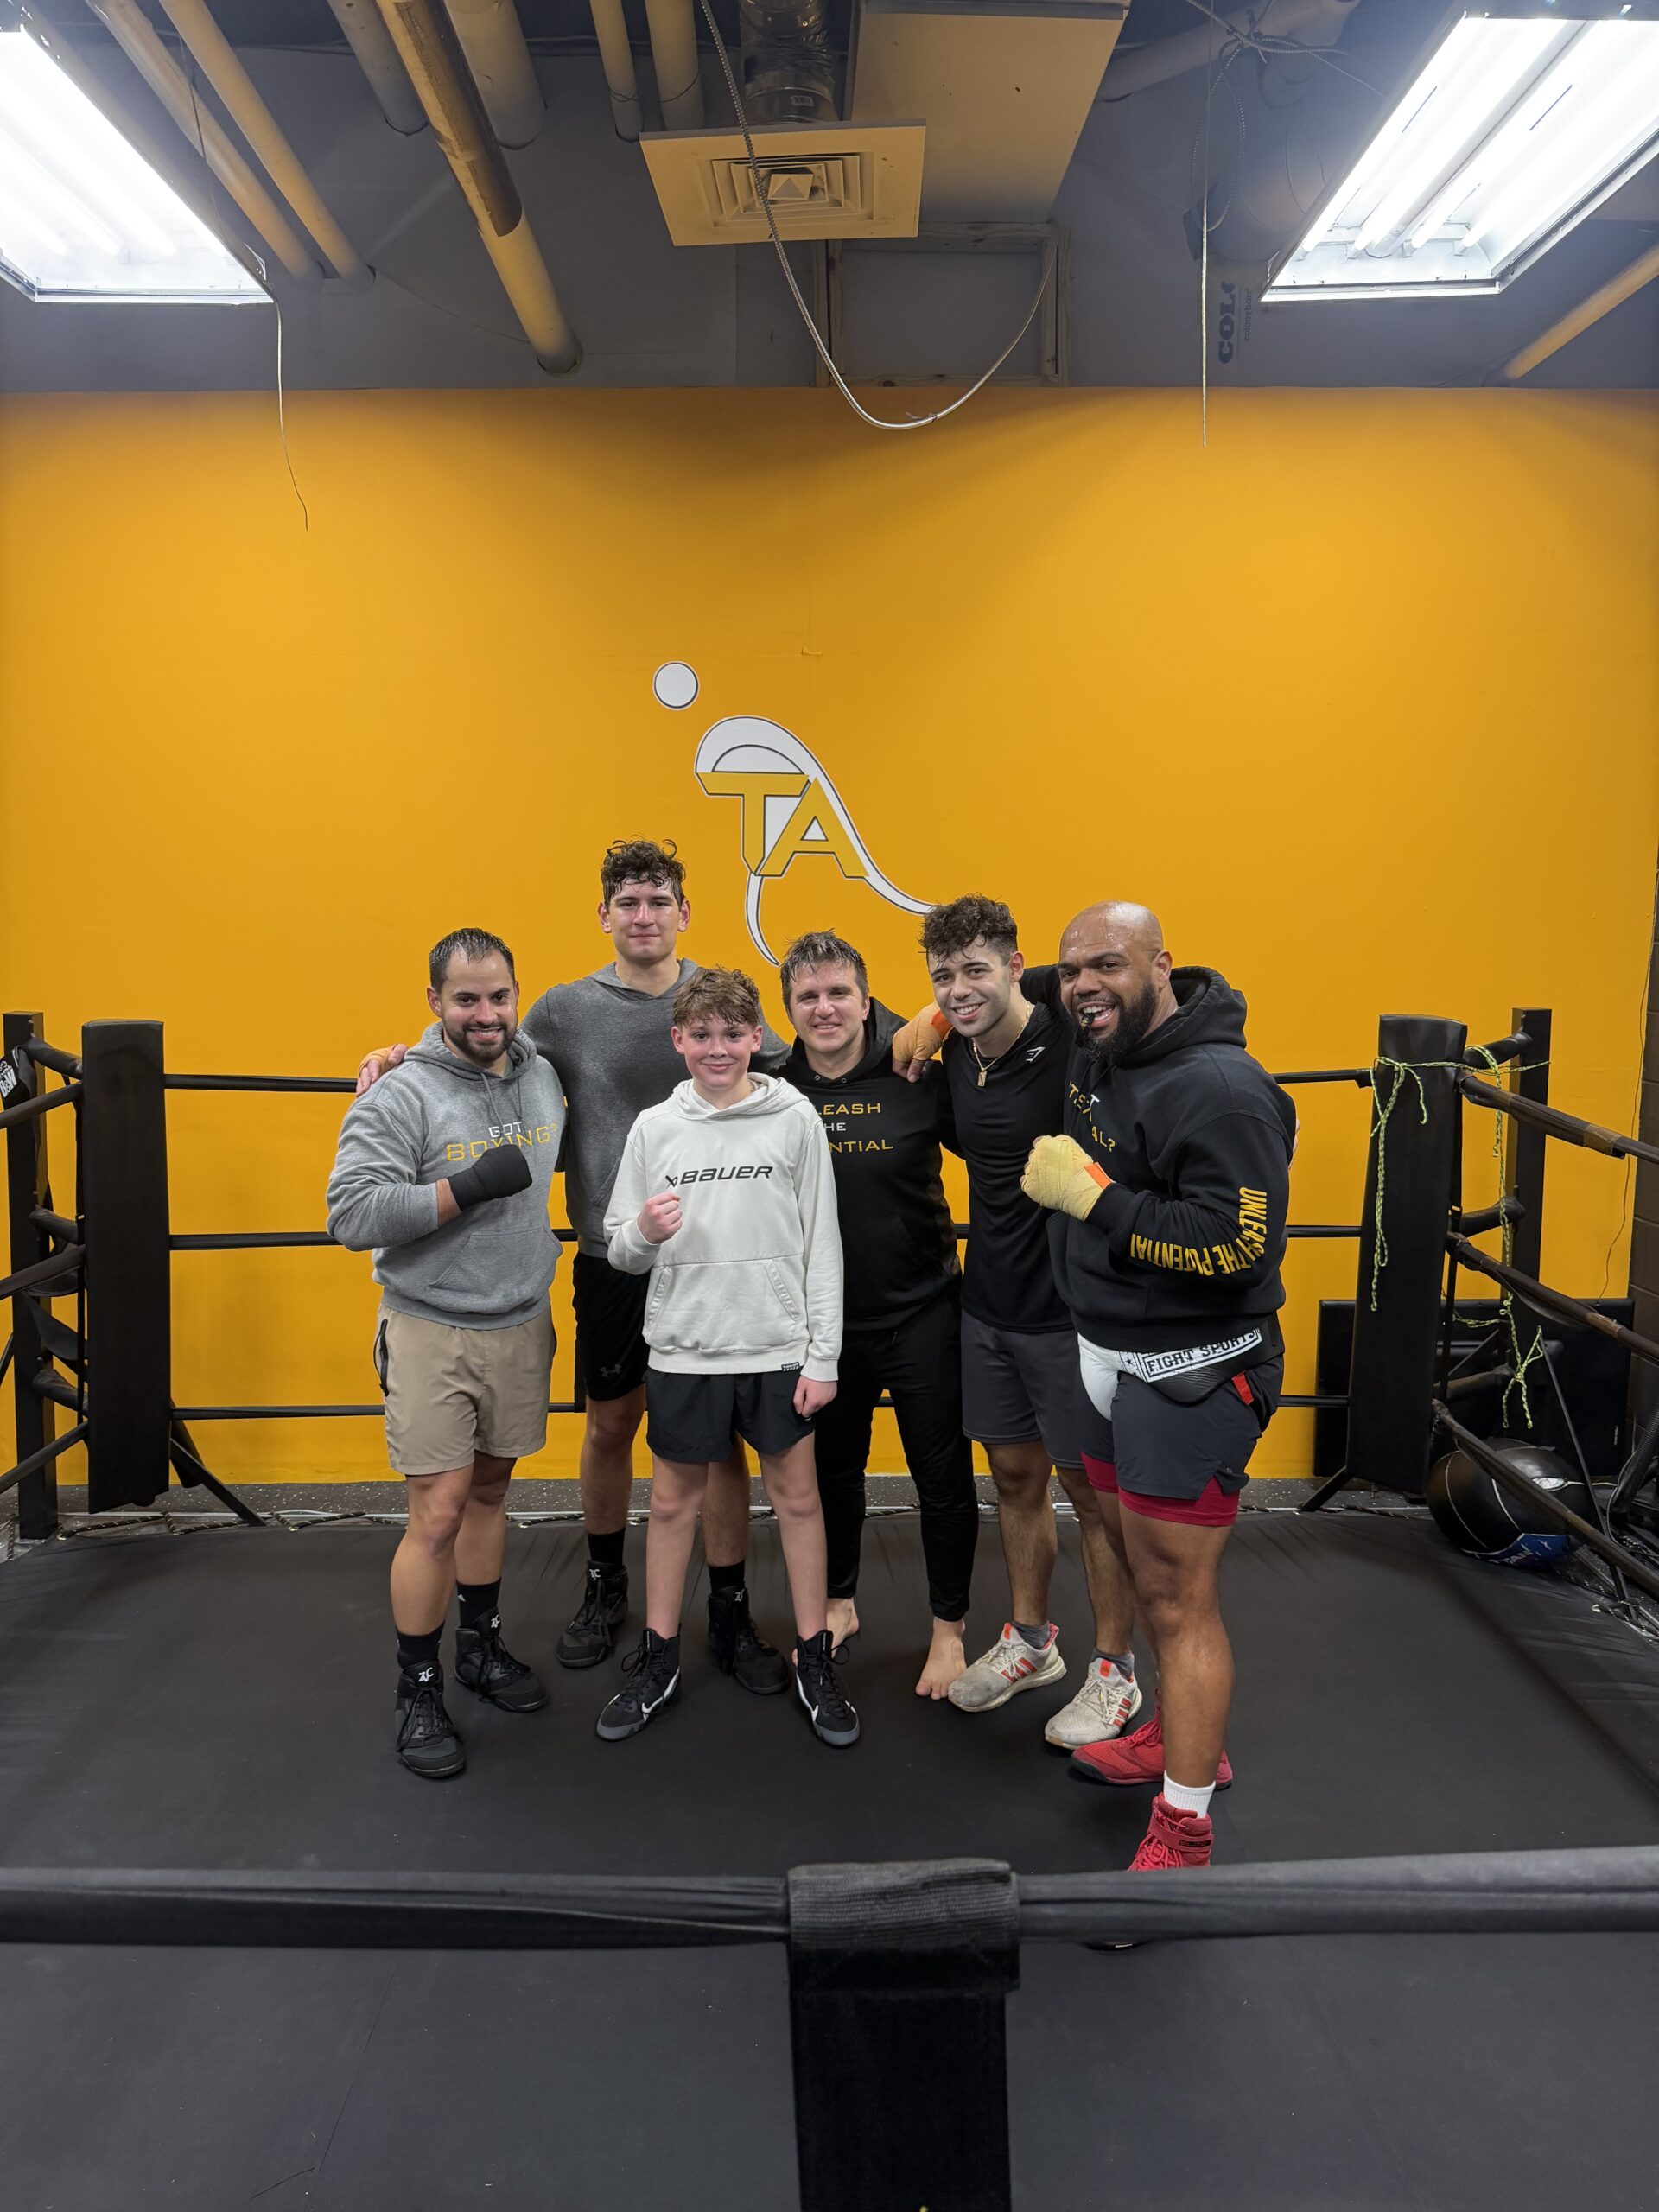
TA Boxing’s Second Annual “Earn Your Turkey” Sparring Session
Thanksgiving Day “Earn Your Turkey” Sparring Session Happy holidays, everyone! Last Thursday, we kicked off Thanksgiving morning with our second annual “Earn Your Turkey Sparring Session,” and the turnout was powerful. A huge thank you to all our members who showed up, stepped in, and put in the work to make the morning an unforgettable…
-
Top 6 Exercises to Increase Hockey Core Strength
Top 6 Exercises to Increase Hockey Core Strength 6 Exercise Workout to Strengthen Your Hockey Core This workout is going to help you improve every aspect of a strong core from rotational power to stability to full body core integration. This workout will get you feeling unstoppable on the ice! 1. Lateral Rip Twist Jumps…
-
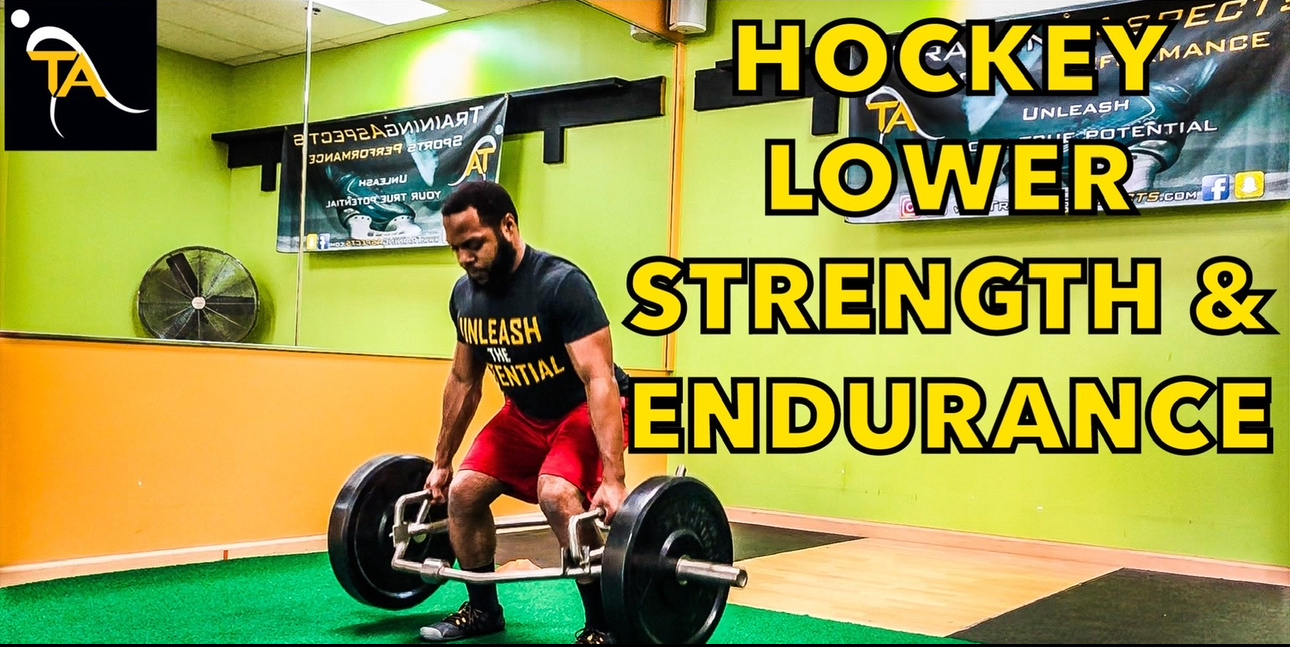
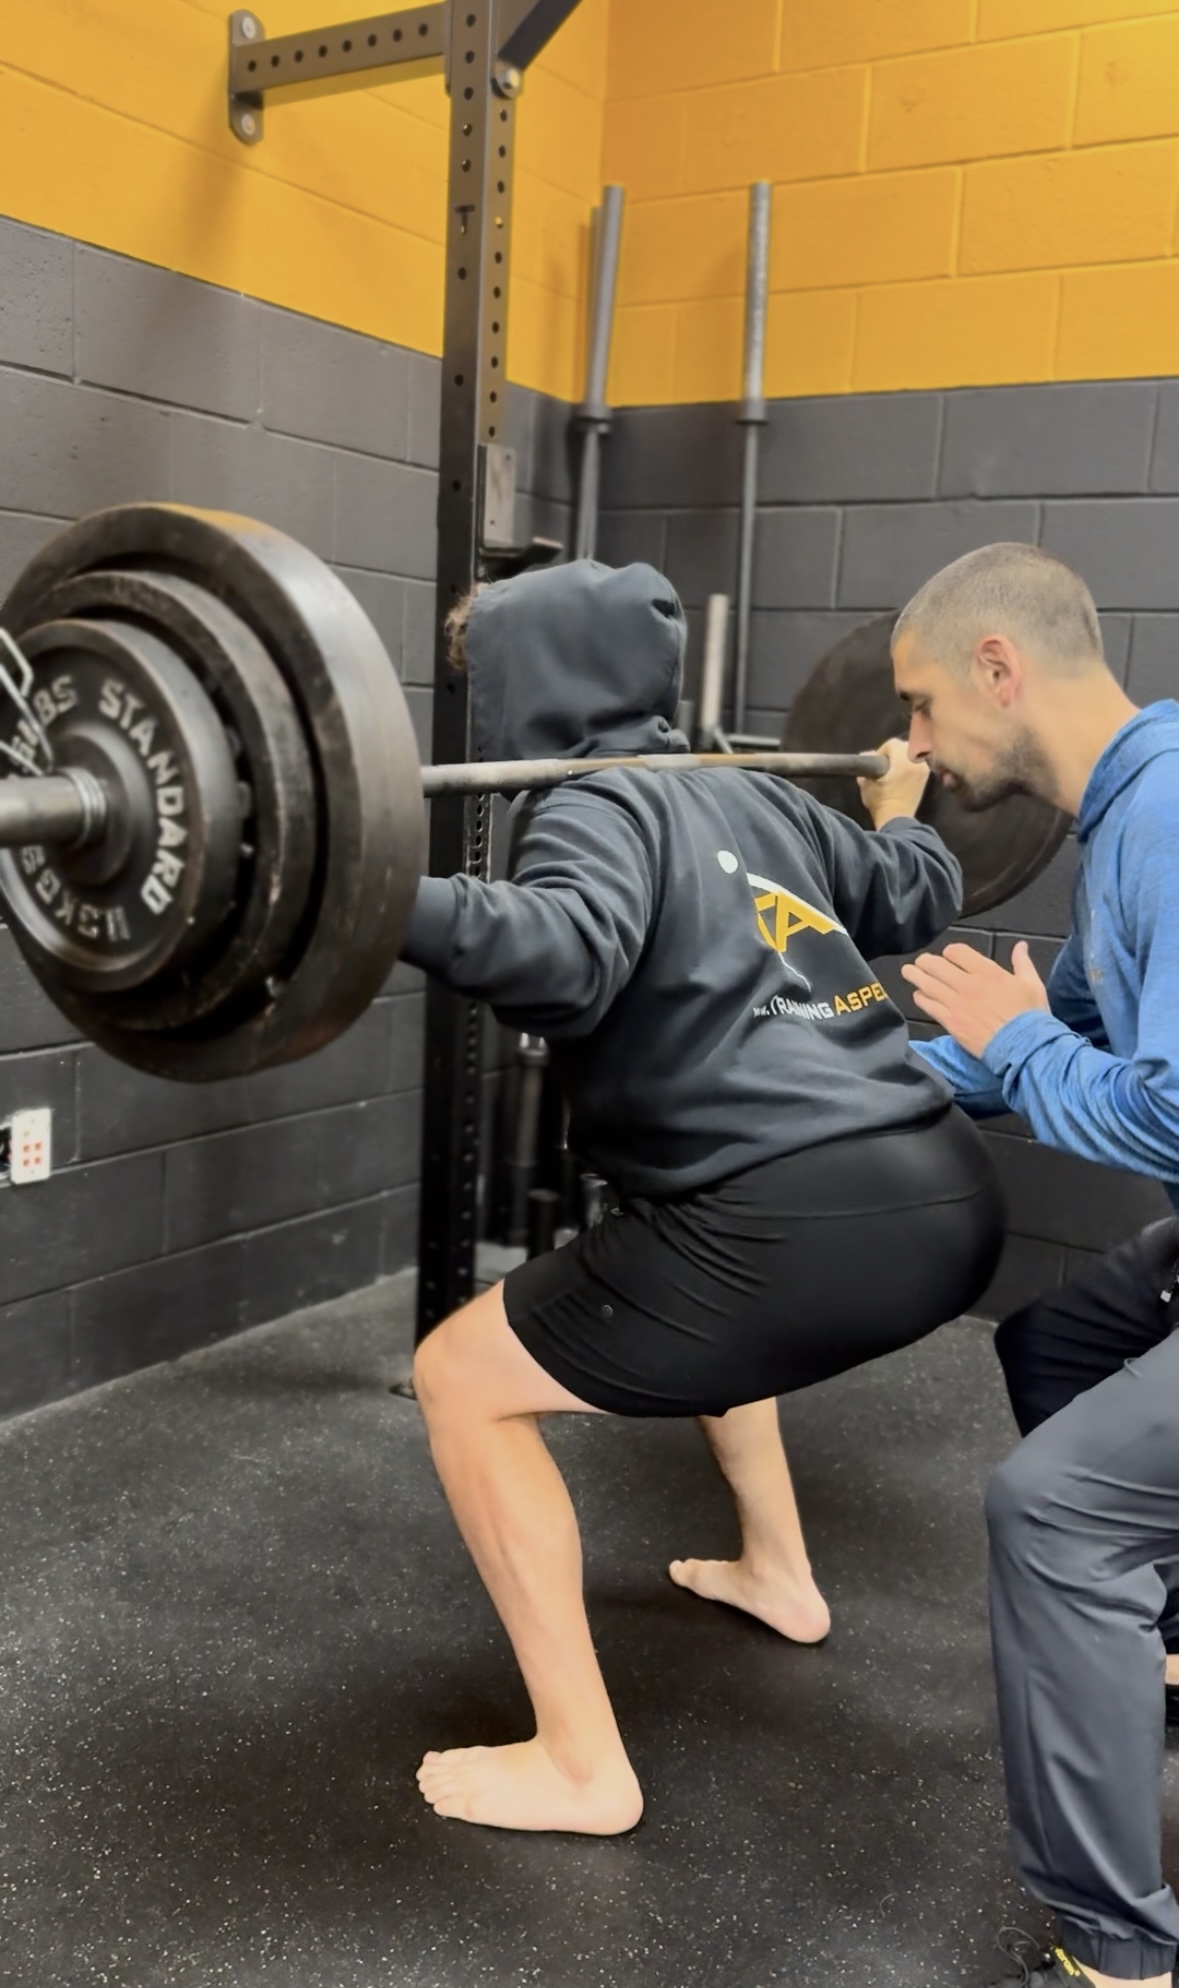
Best Hockey Leg Endurance Strength Workout
Best Hockey Leg Endurance Strength Workout Everyone is always looking for the best way to increase strength and endurance to be the best athlete they can be!…But how do you do that? There are many ways but this workout gives you a great idea of how to program your lifts and exercises to not only…
-
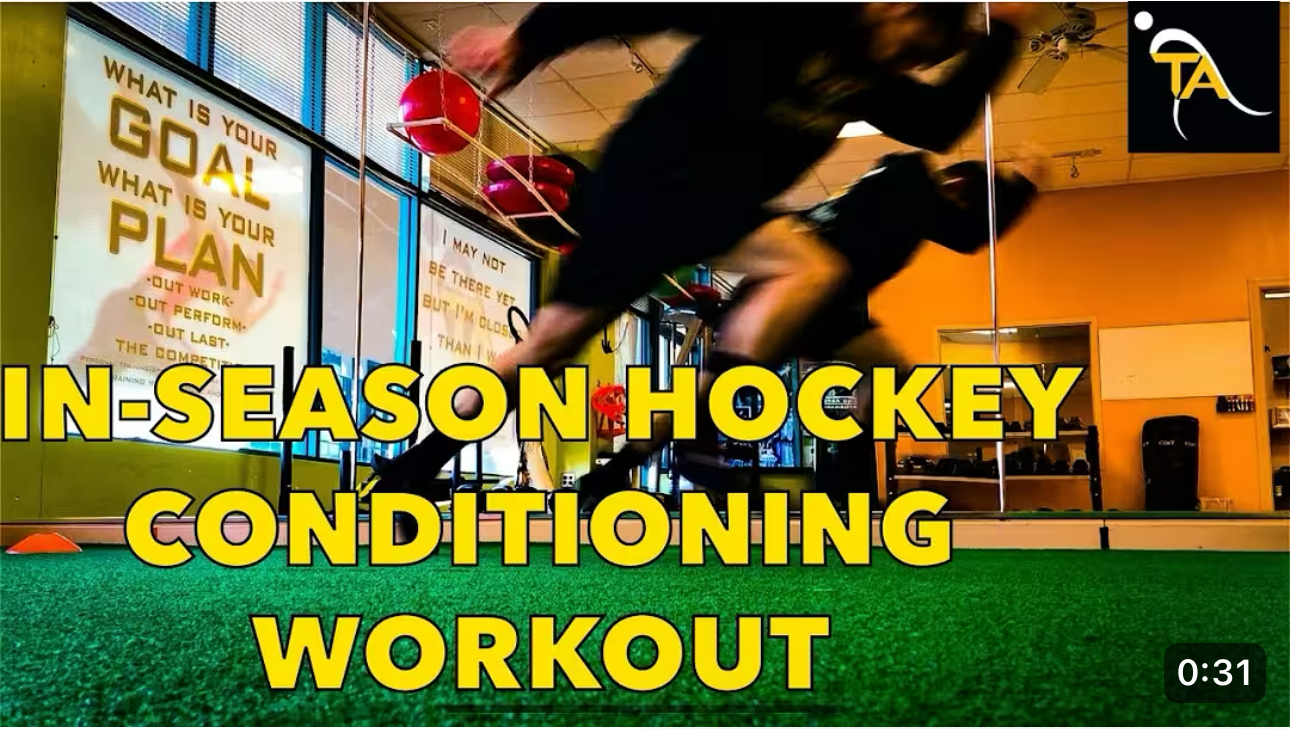
Top Hockey In-Season Conditioning Workout
Top Hockey In-Season Conditioning Workout In season-off day body movement activation workout. Strengthen your movement efficiency through these 4 exercises. **If you cant complete full range of motion though these exercises, slow it down and work on that first, before reinforcing poor movement habits.** 1. Split jumps– focus on the hips completing the range of…
-
Top 5 Exercises to Build Hockey Leg Stamina
Top 5 Exercises to Build Hockey Leg Stamina We got an old school video for todays article, circa 2019! 😄 Still a beast hockey leg stamina workout nonetheless! Watch the video for demos and then read on to hear how each exercise and the sequence of them will really help improve your hockey leg stamina!…
-
How Working Hard Without Self-Care Hurts You (and How to Fix It)
We’ve All Been Told to “Work Hard” We’ve heard it our whole lives: work hard, stay loyal, and the rewards will come. But many of us have watched an older generation do just that and miss out on life along the way or at least live a different style life. They worked tirelessly, skipped vacations,…
-
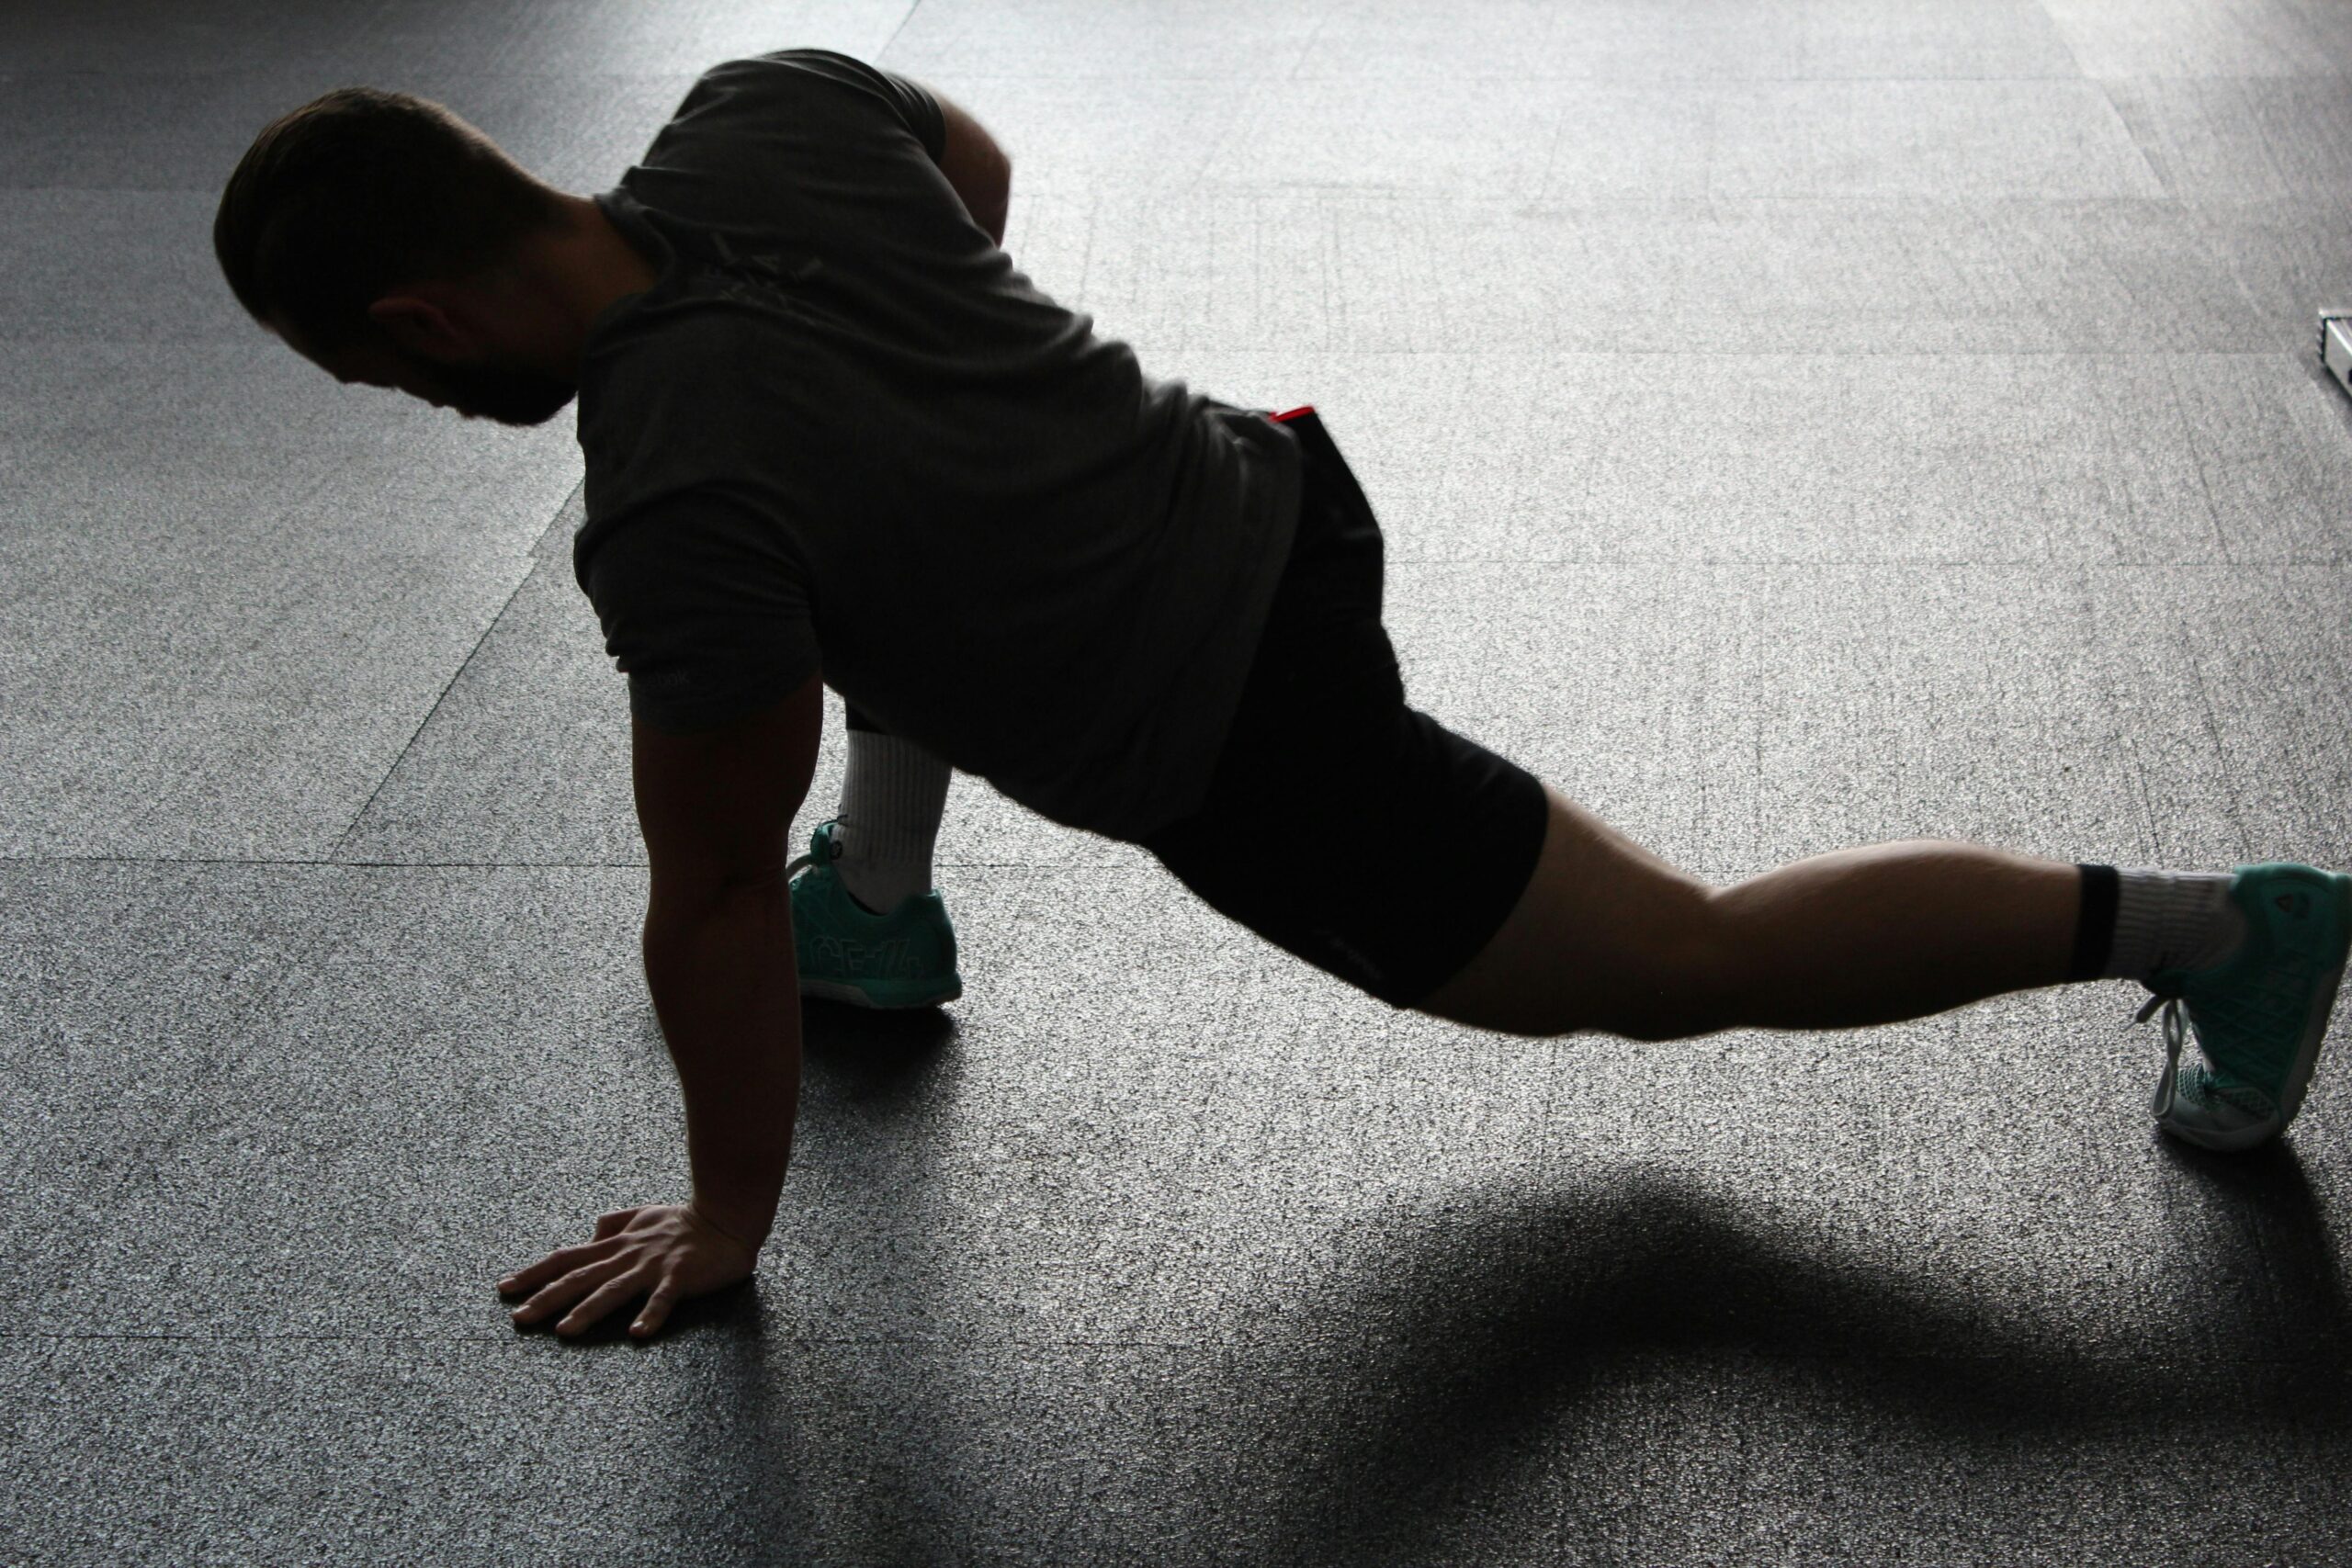
Top 3 In-Season Mobility Exercises
Top 3 In-Season Mobility Exercises It’s essential to keep the body mobile during the season to offset the wear and tear that accumulates over the season! Wanna stay healthy snd feeling your best??…a great mobility routine is the first step! Here are three of our go-to best bang for your buck mobility drills! Spider Crawl…
-
The secret to fitness success, that’s really not a secret
Commit, Have Discipline, Stay Consistent (CDC) As a high-level performer, there’s no middle ground. You either commit, keep the discipline, and stay consistent (CDC), or you don’t succeed. Whether it’s weight loss, weight gain, or performance training, the principle is the same, results take time. The hard truth is that progress rarely shows up overnight.…